The assembly of the Monster Joystick kit is simple and only requires a screwdriver and some pliers. This assembly guide has been broken down into steps with photos to help you along the way.
We advise to remove all of the protective covering from the case pieces before proceeding.
Step 1 - Attach the Interface Kit
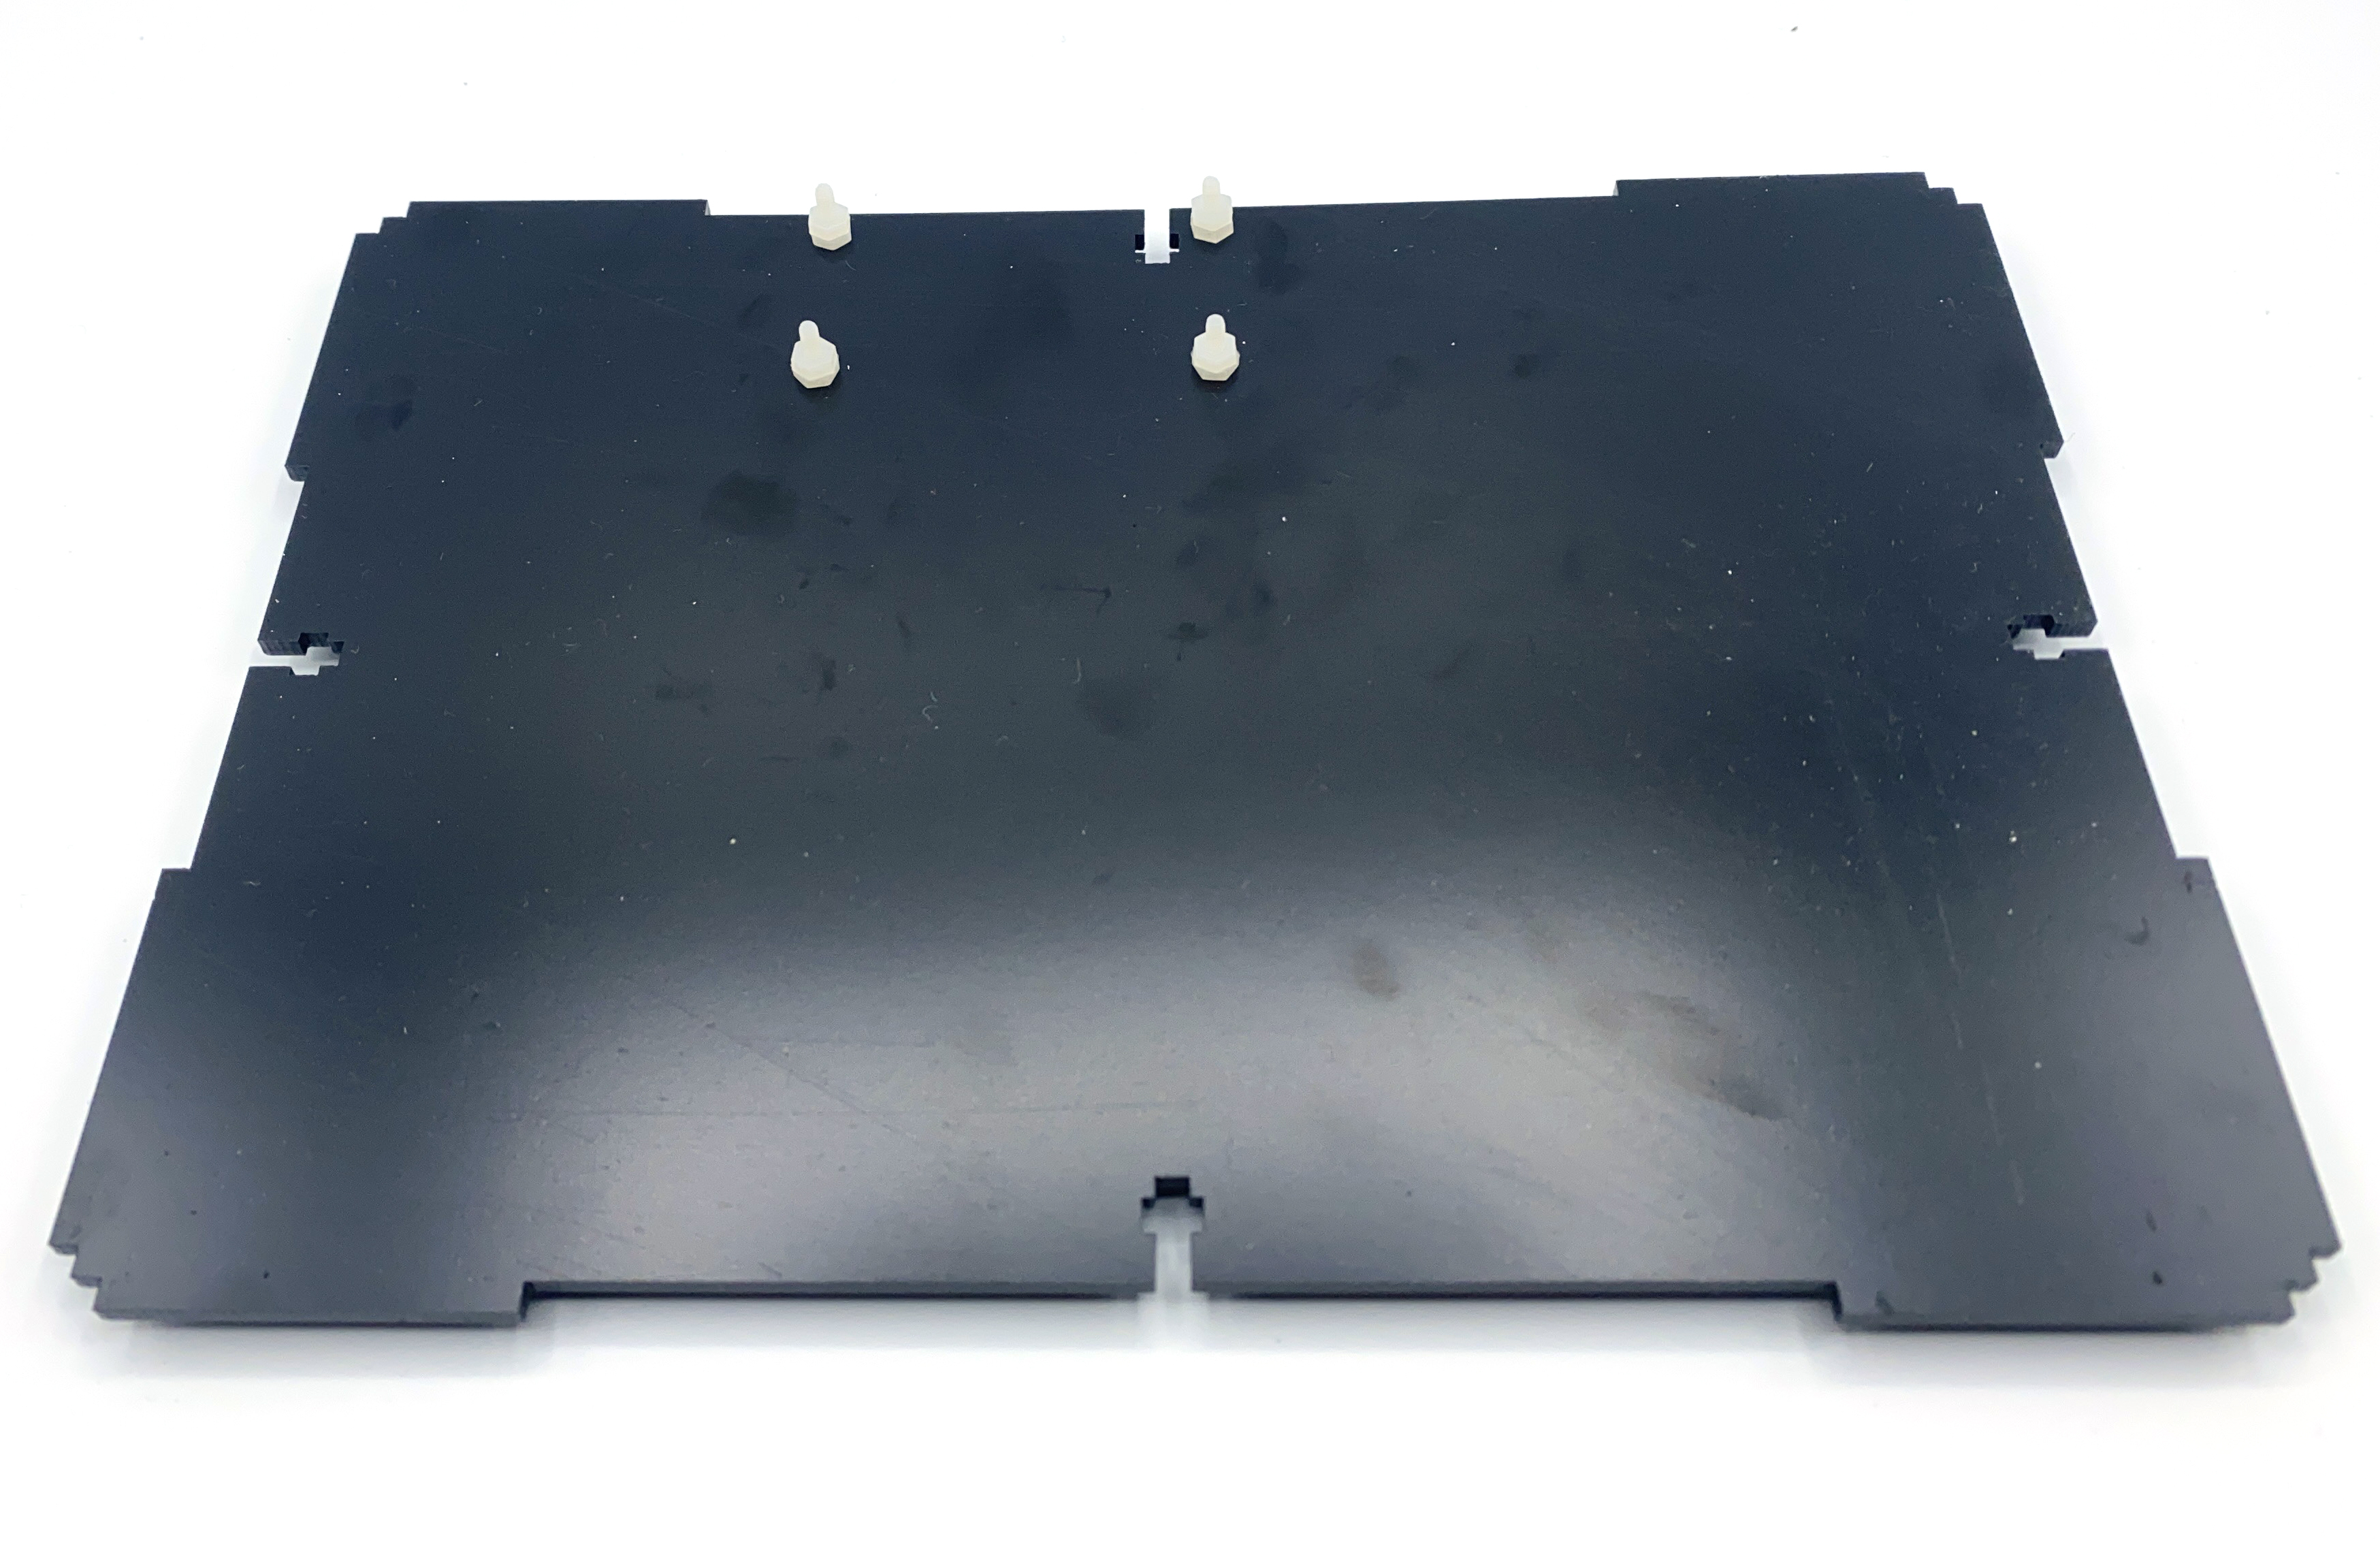
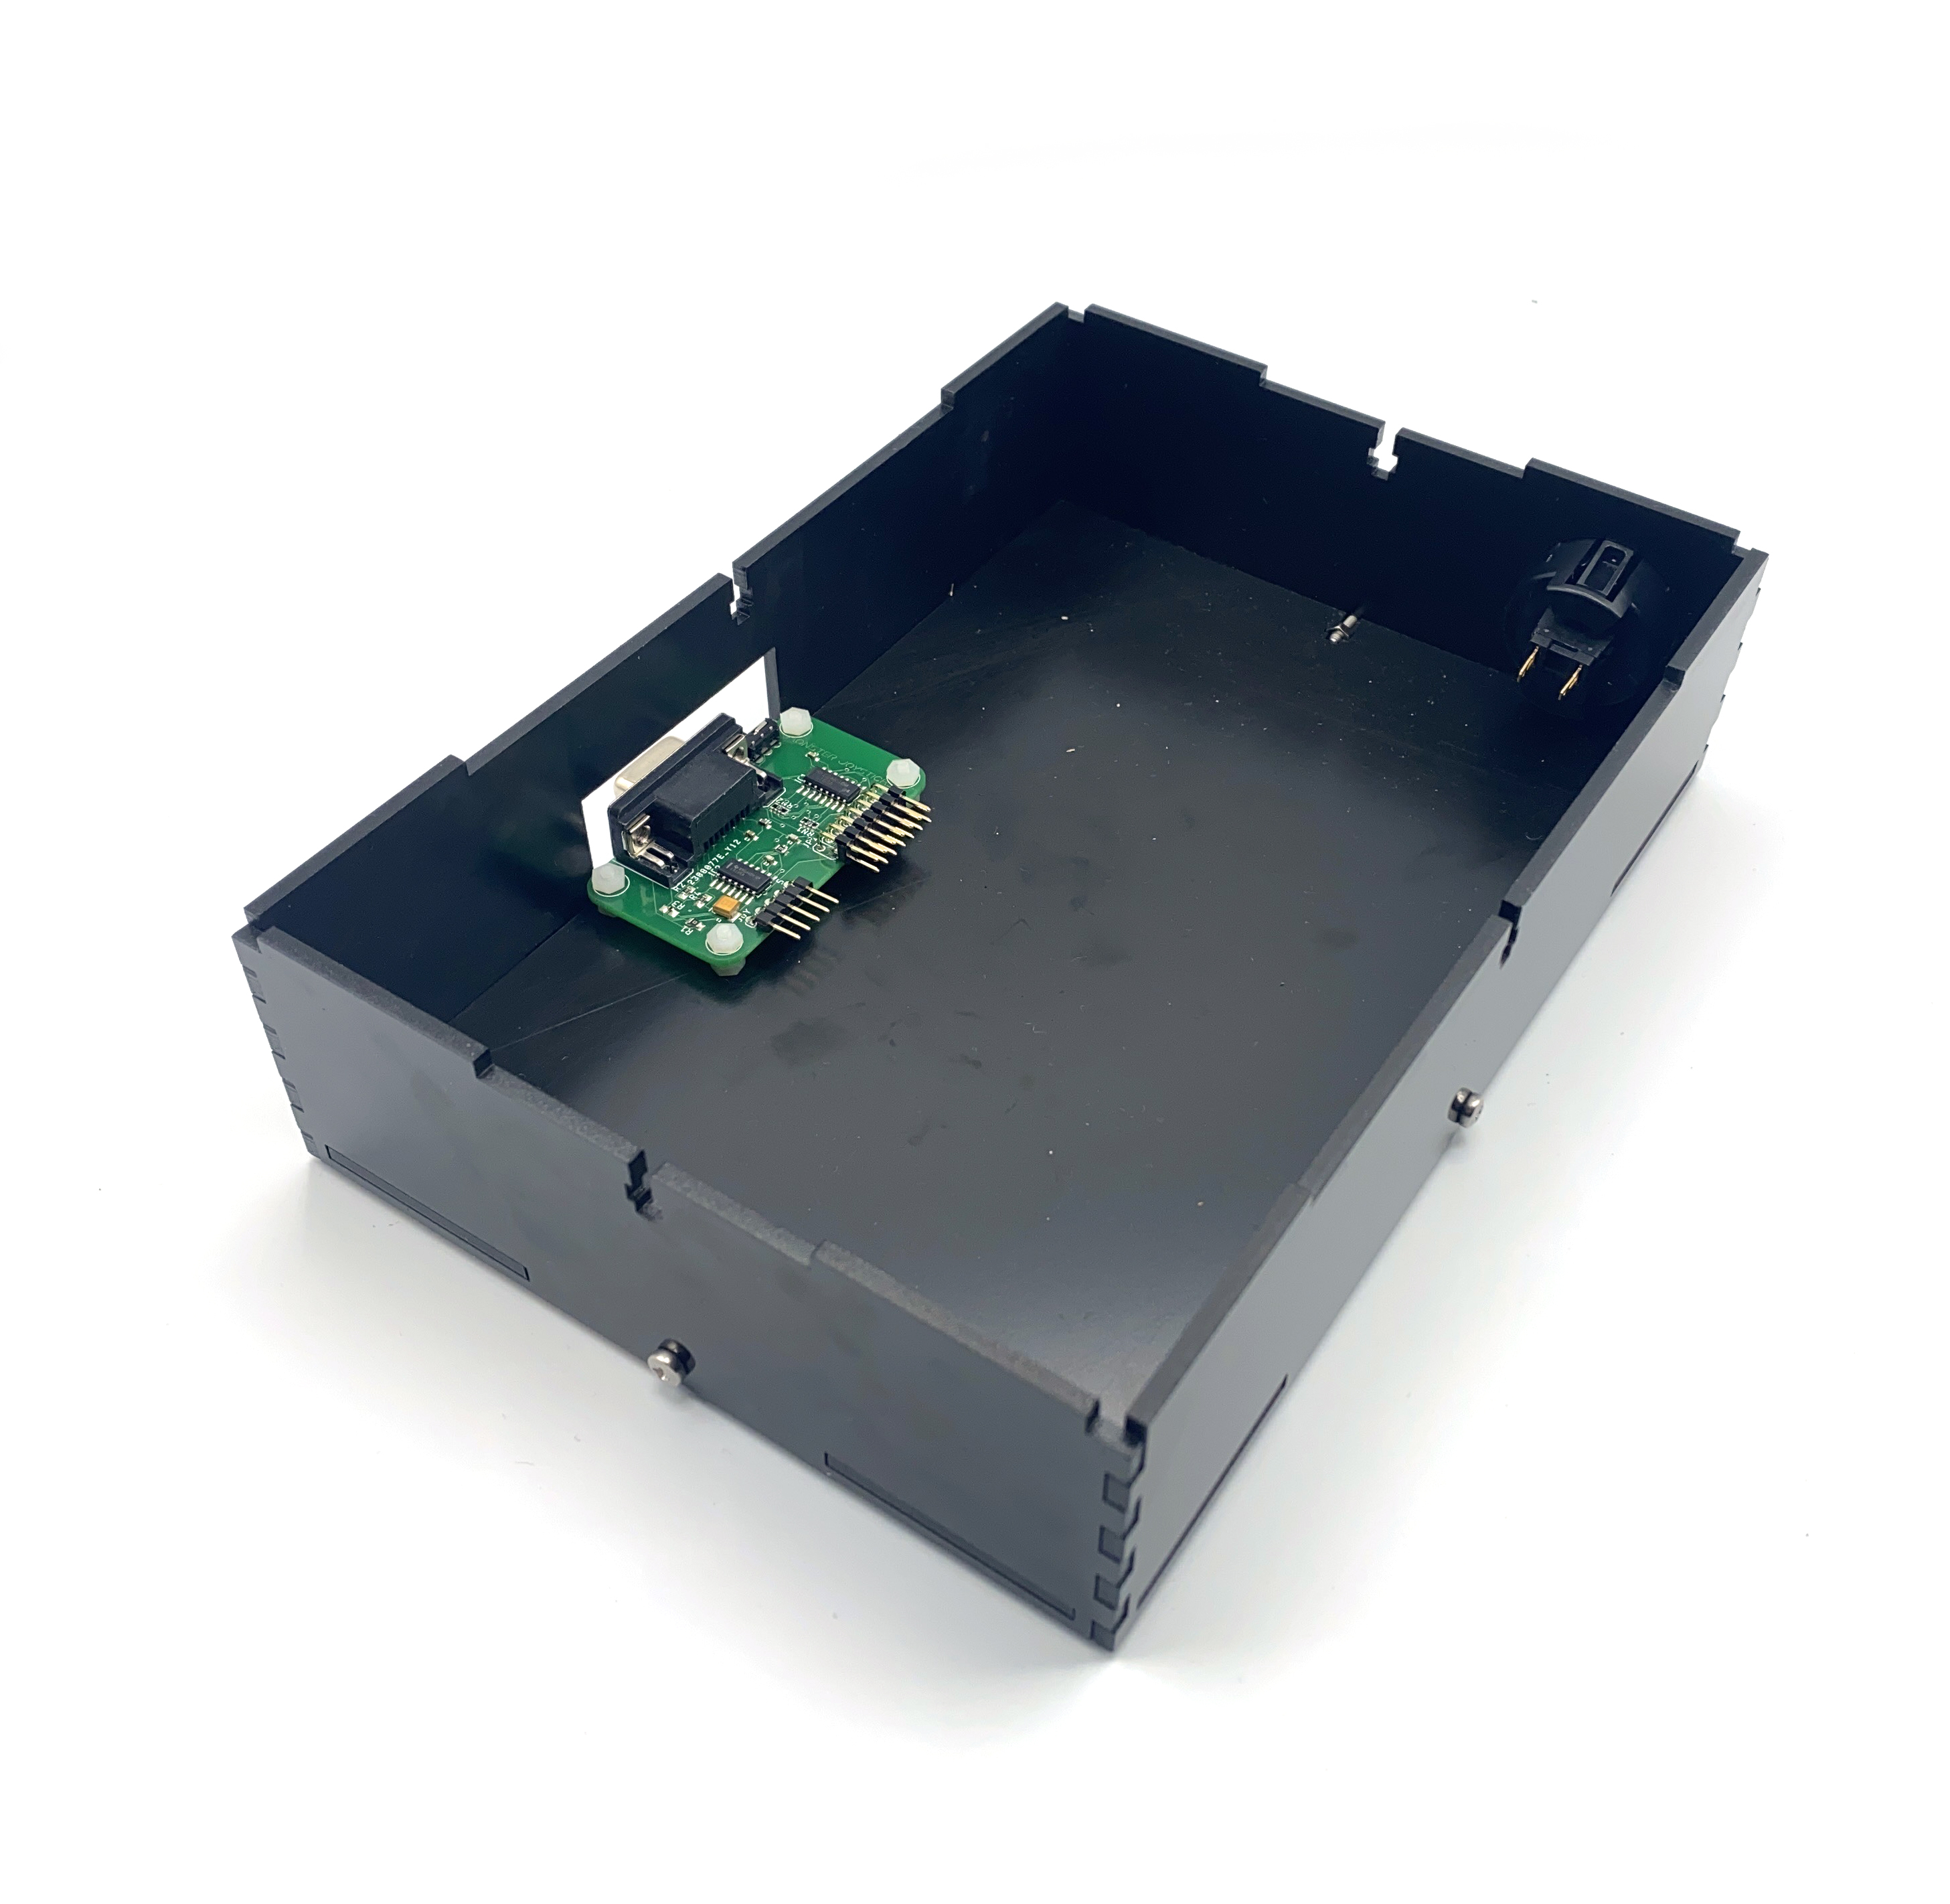
Attach the interface kit to the bottom panel of the unit. You can identify this piece using the picture below. Orientate it so that the mounting holes are slightly off centre to the right.
 |
Then fasten the interface kit to the bottom panel using the acrylic nuts and pan-head screws provided. Thread each screw from the bottom through the holes. Then tighten 1 nut on each of the screws. You should be able do this by hand as they do not need to be overtightened. |
| Next, add a second nut to each of the screws to offer extra stand off height to the interface. Then carefully place the interface onto the mounting screws through the mounting holes and fas- ten it to the screws using the last of the acrylic nuts. This can be quite fiddly so we recommend taking your time and if needed use tweezers or bottle nose pliers to gently tighten the nuts to secure the interface in place. | 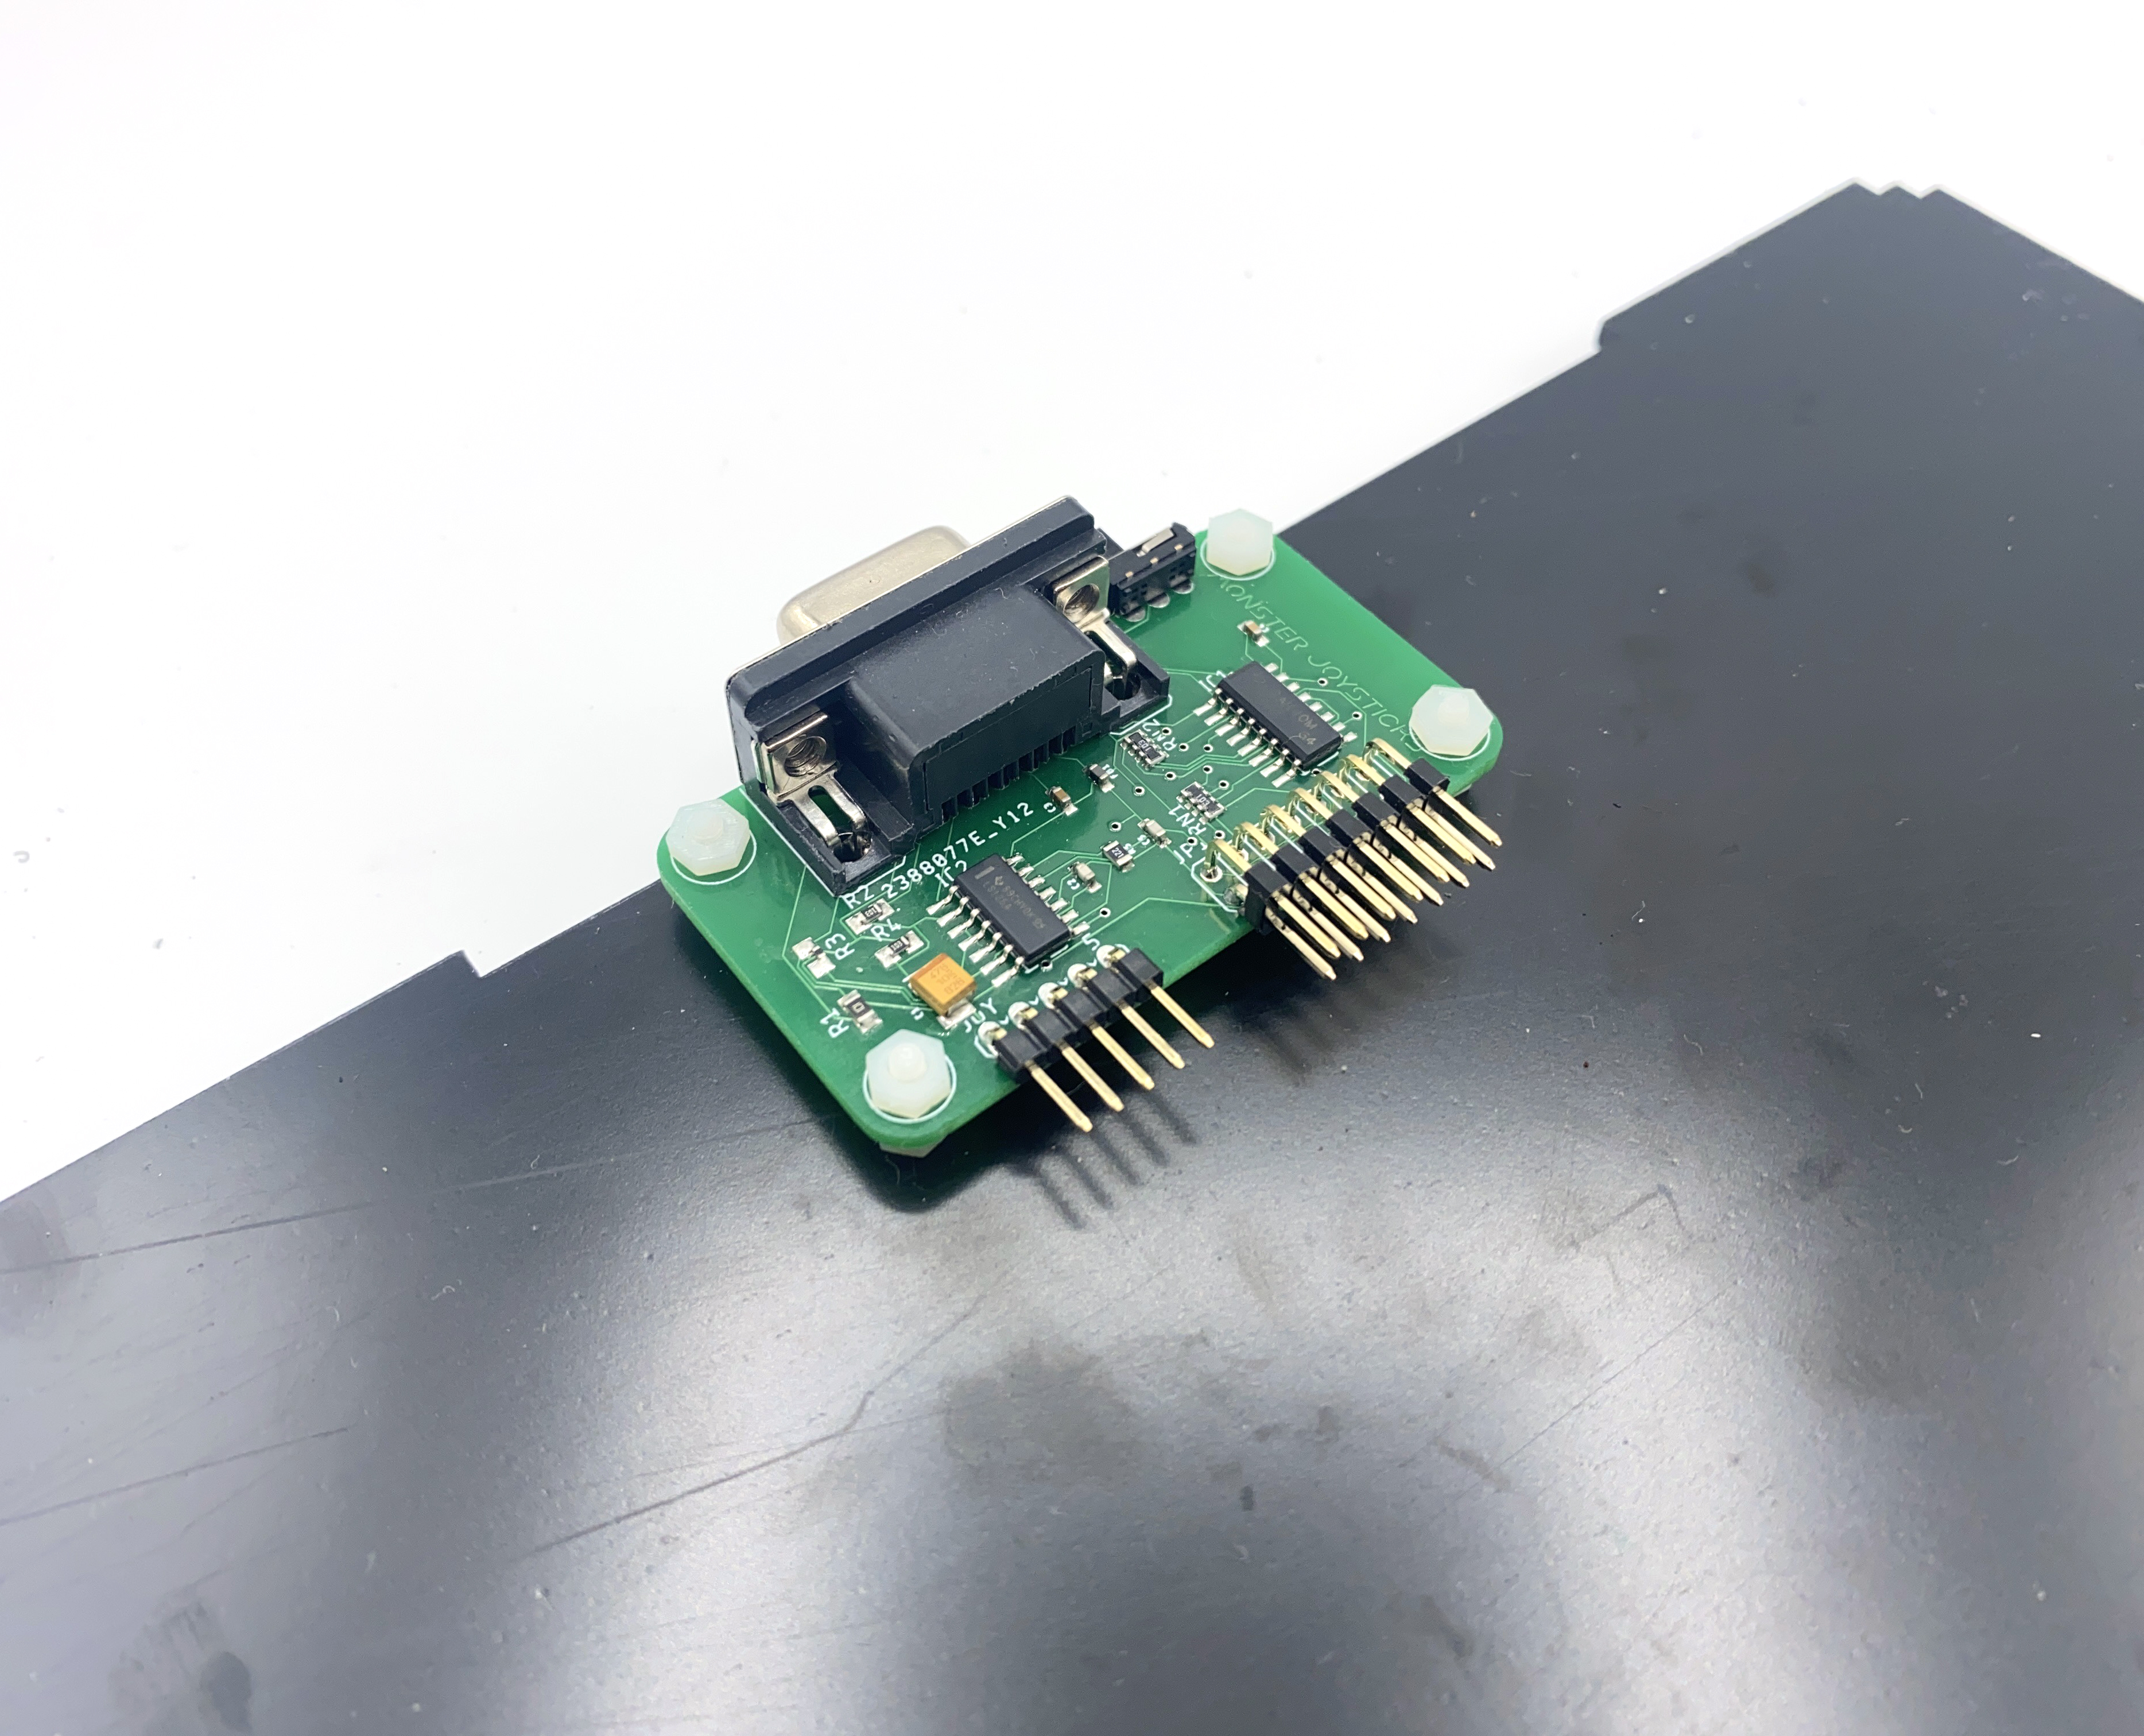 |
Step 2 - Attach the Side Panels
First orientate the bottom panel so that the interface is at the top and slightly to the right. Next attach the rear panel. Align the connecting slots on the bottom of the rear panel to those on the back of the bottom panel. Gently connect the panel by insert- ing the bottom panel into the slots on the bottom of the rear panel. Once inserted you can then fasten the back panel.
| Now place the unit on its side- it should now stand freely. Inserting one of the steel M3 nuts into the T-shaped slot. The threaded hole should align with the corresponding hole on the rear panel. With the holes aligned, insert a steel 12mm pozi pan-head screw through the hole on the back panel and screw it into the M3 nut you have just inserted. Finger-tighten and then gently tighten further with a pan-head screwdriver. One quarter turn is sufficient. | 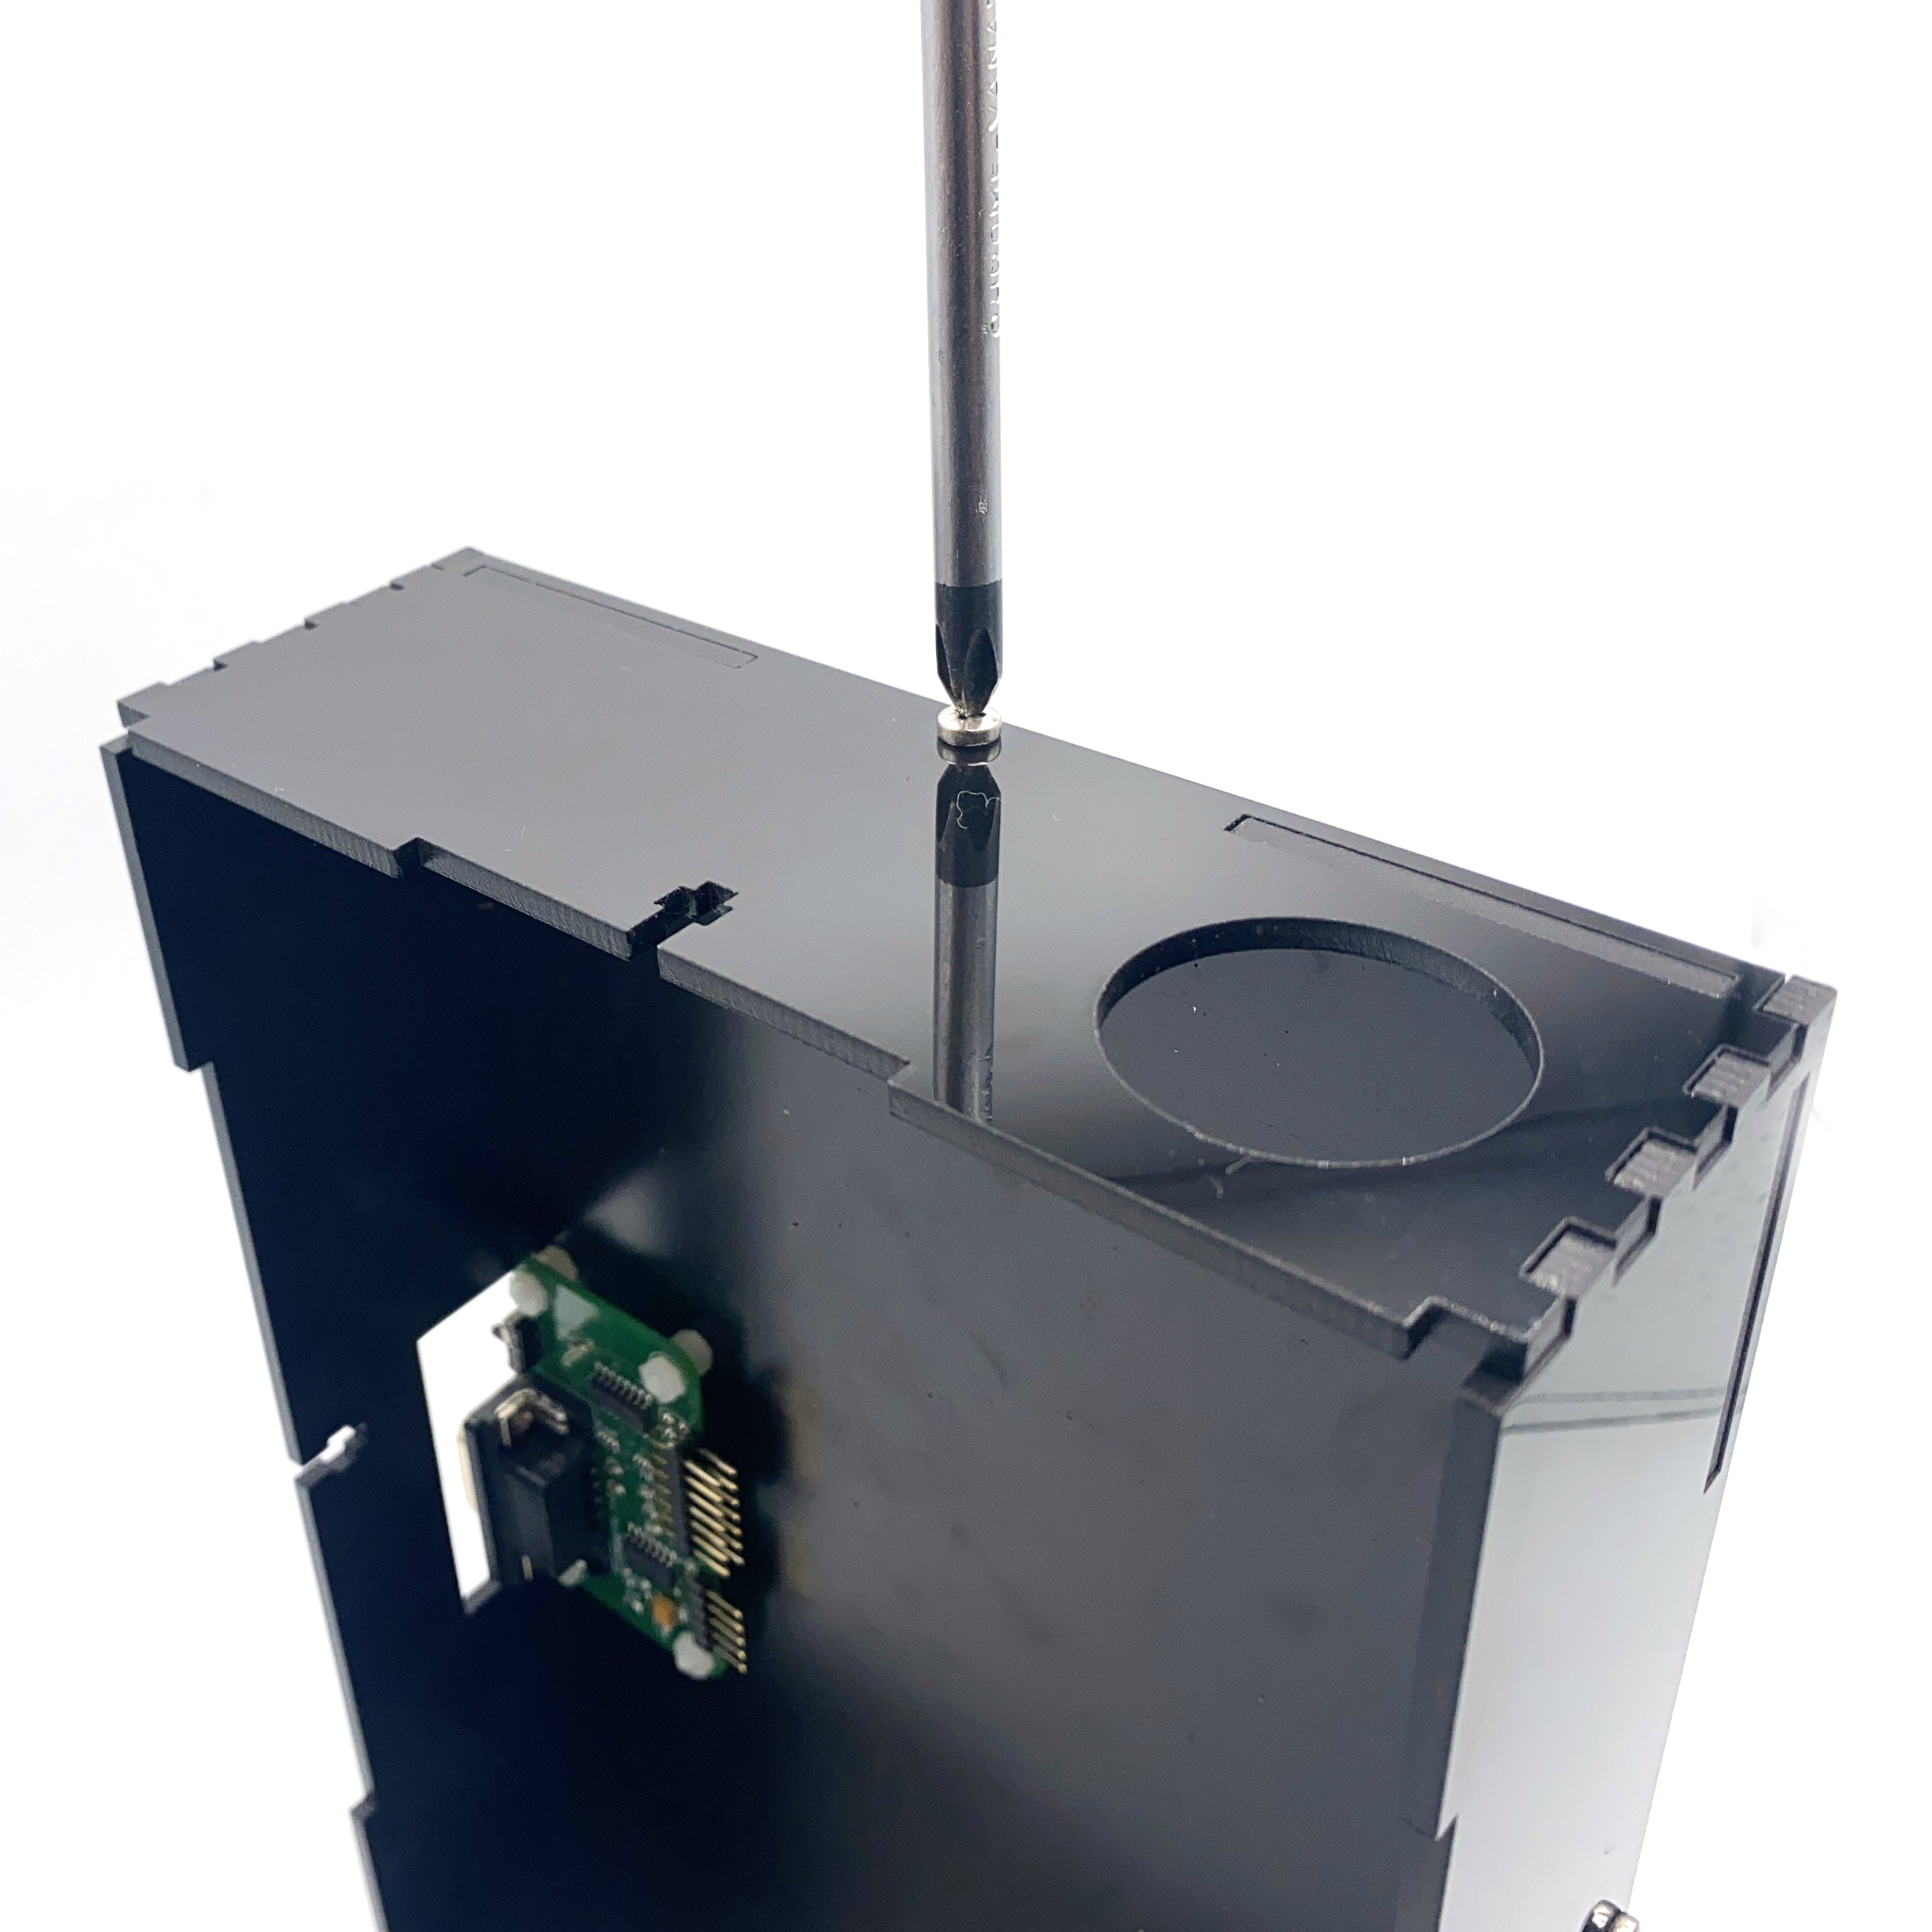 |
 |
Now repeat the same process with the left, front and right panels. Remember to make sure that the but- tons are facing outwards with the connecting terminals facing into the case. |
Step 3 - Attach the Joystick and Buttons
| Fasten the joystick to the top panel, align the 4 corner holes on the joystick plate with the 4 holes on the top panel. Insert the supplied carriage bolts and fasten them with M5 nuts. | 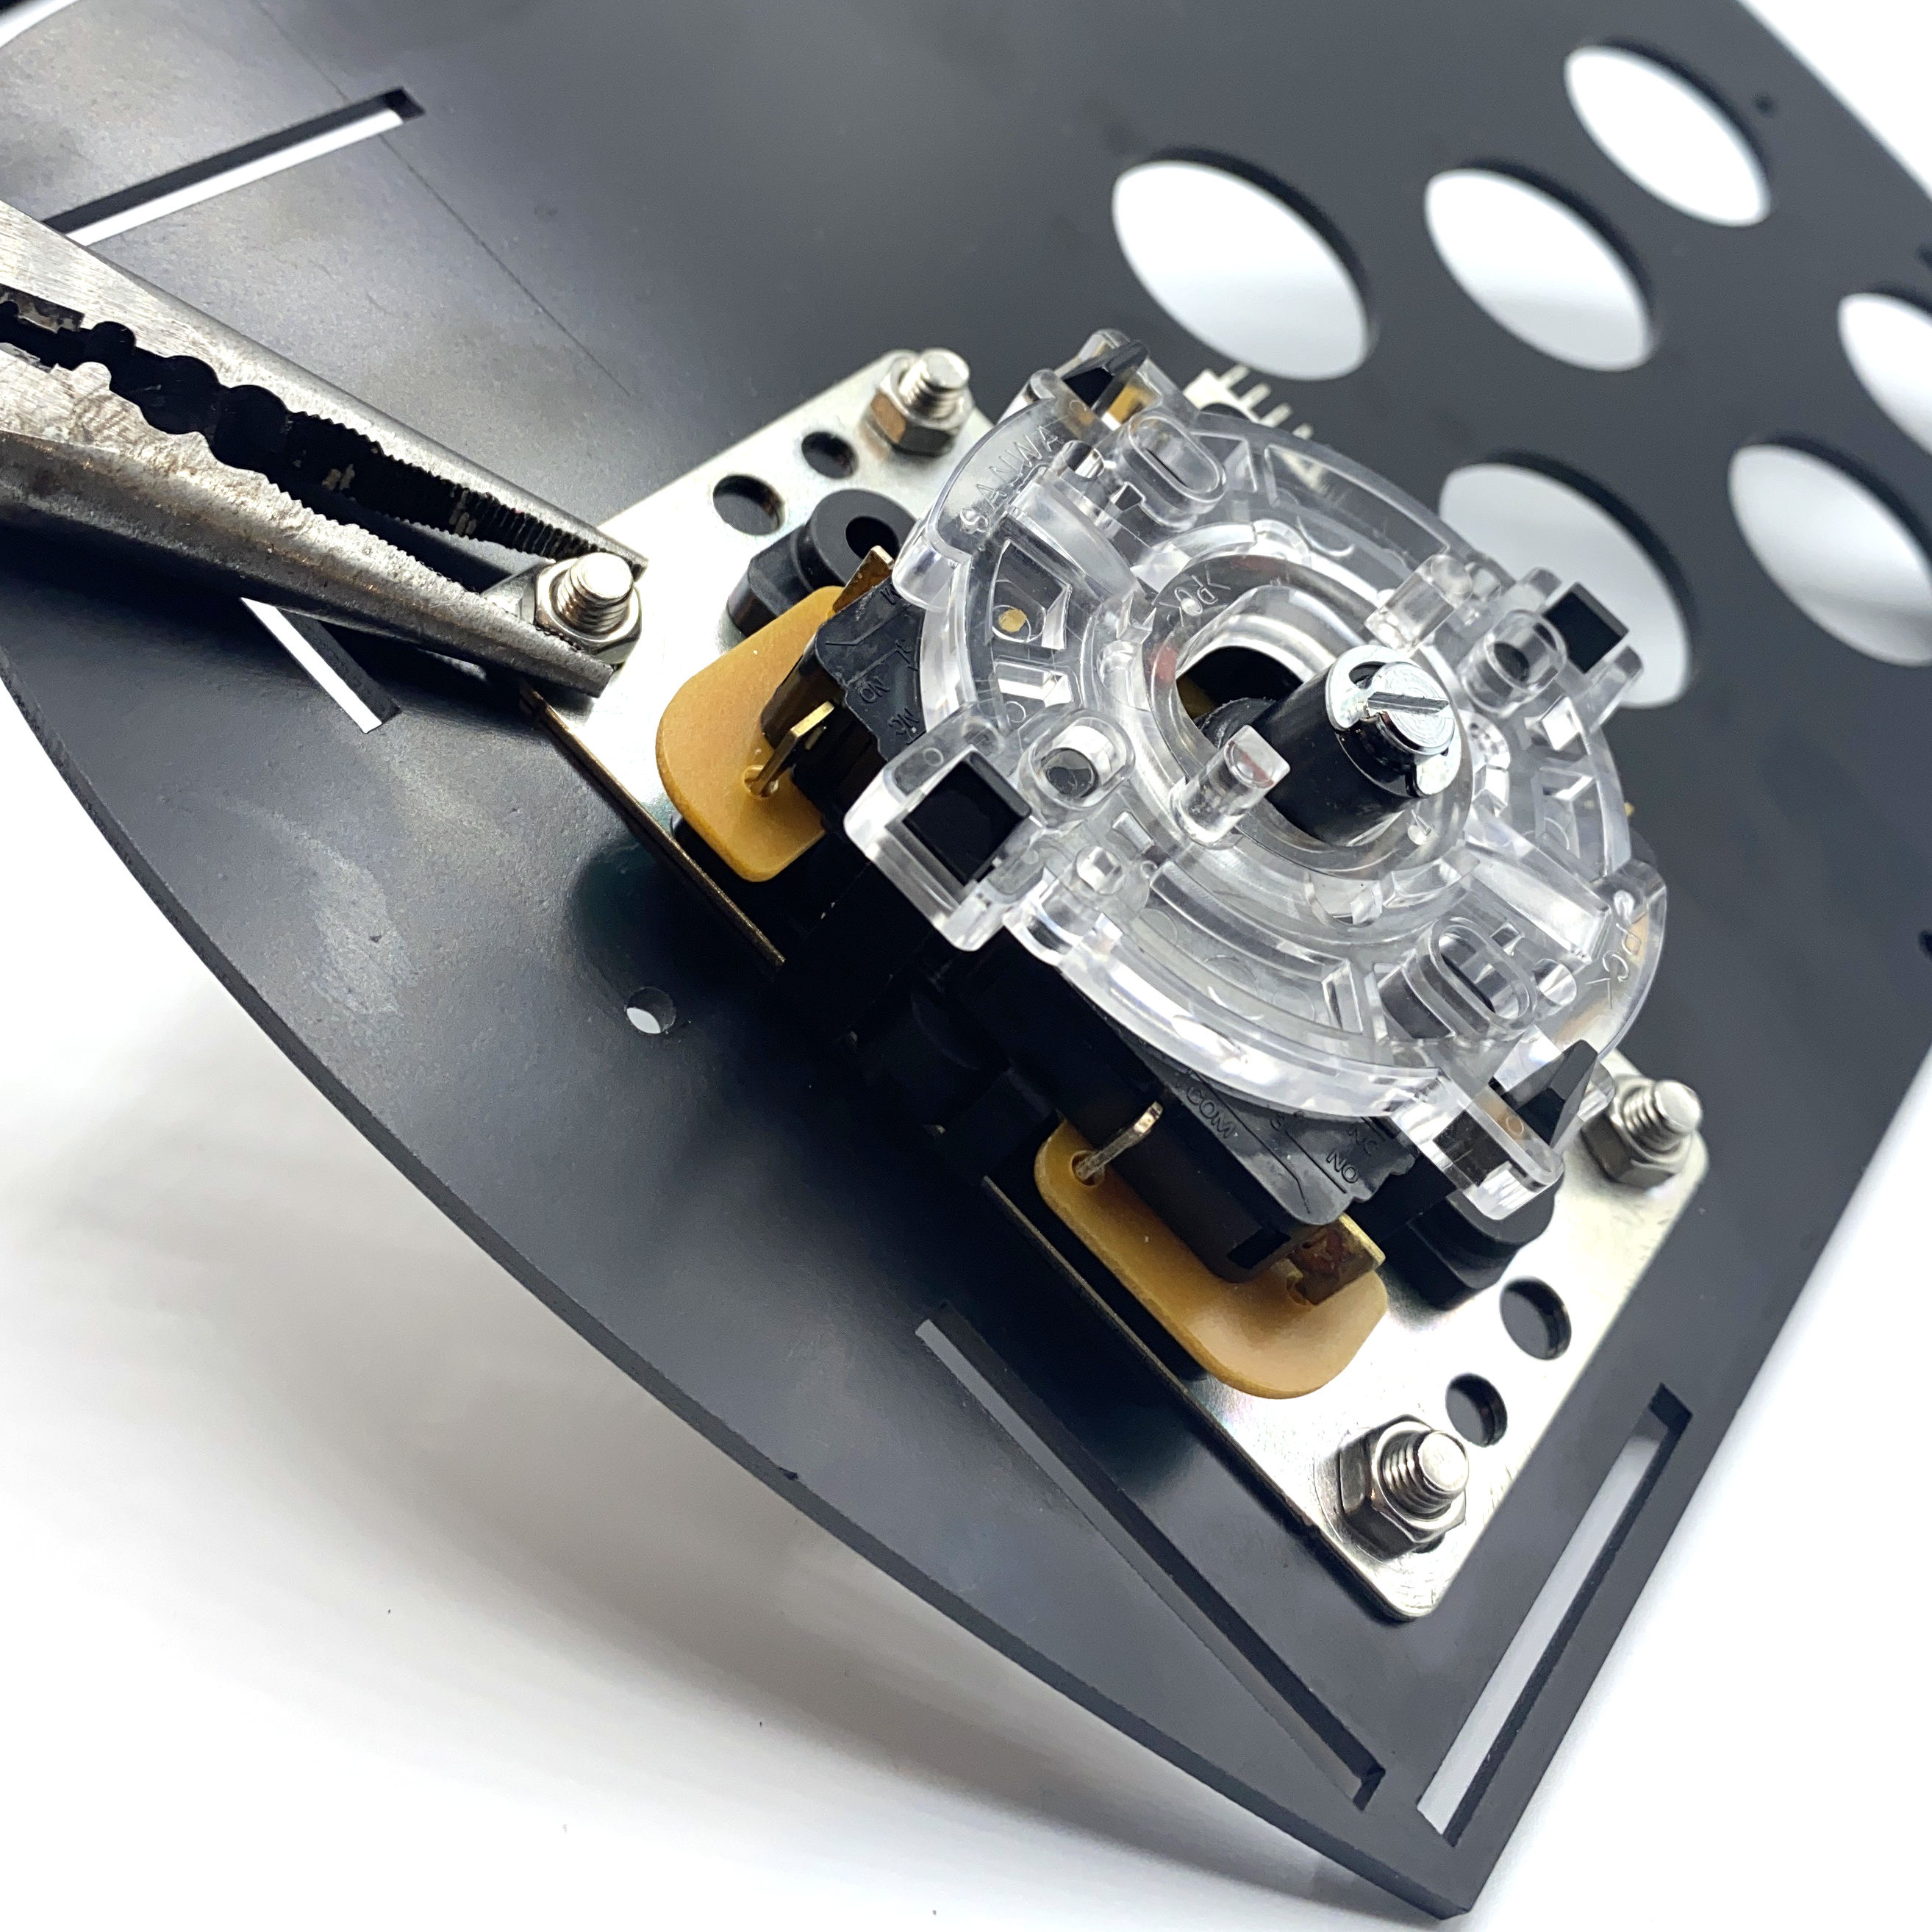 |
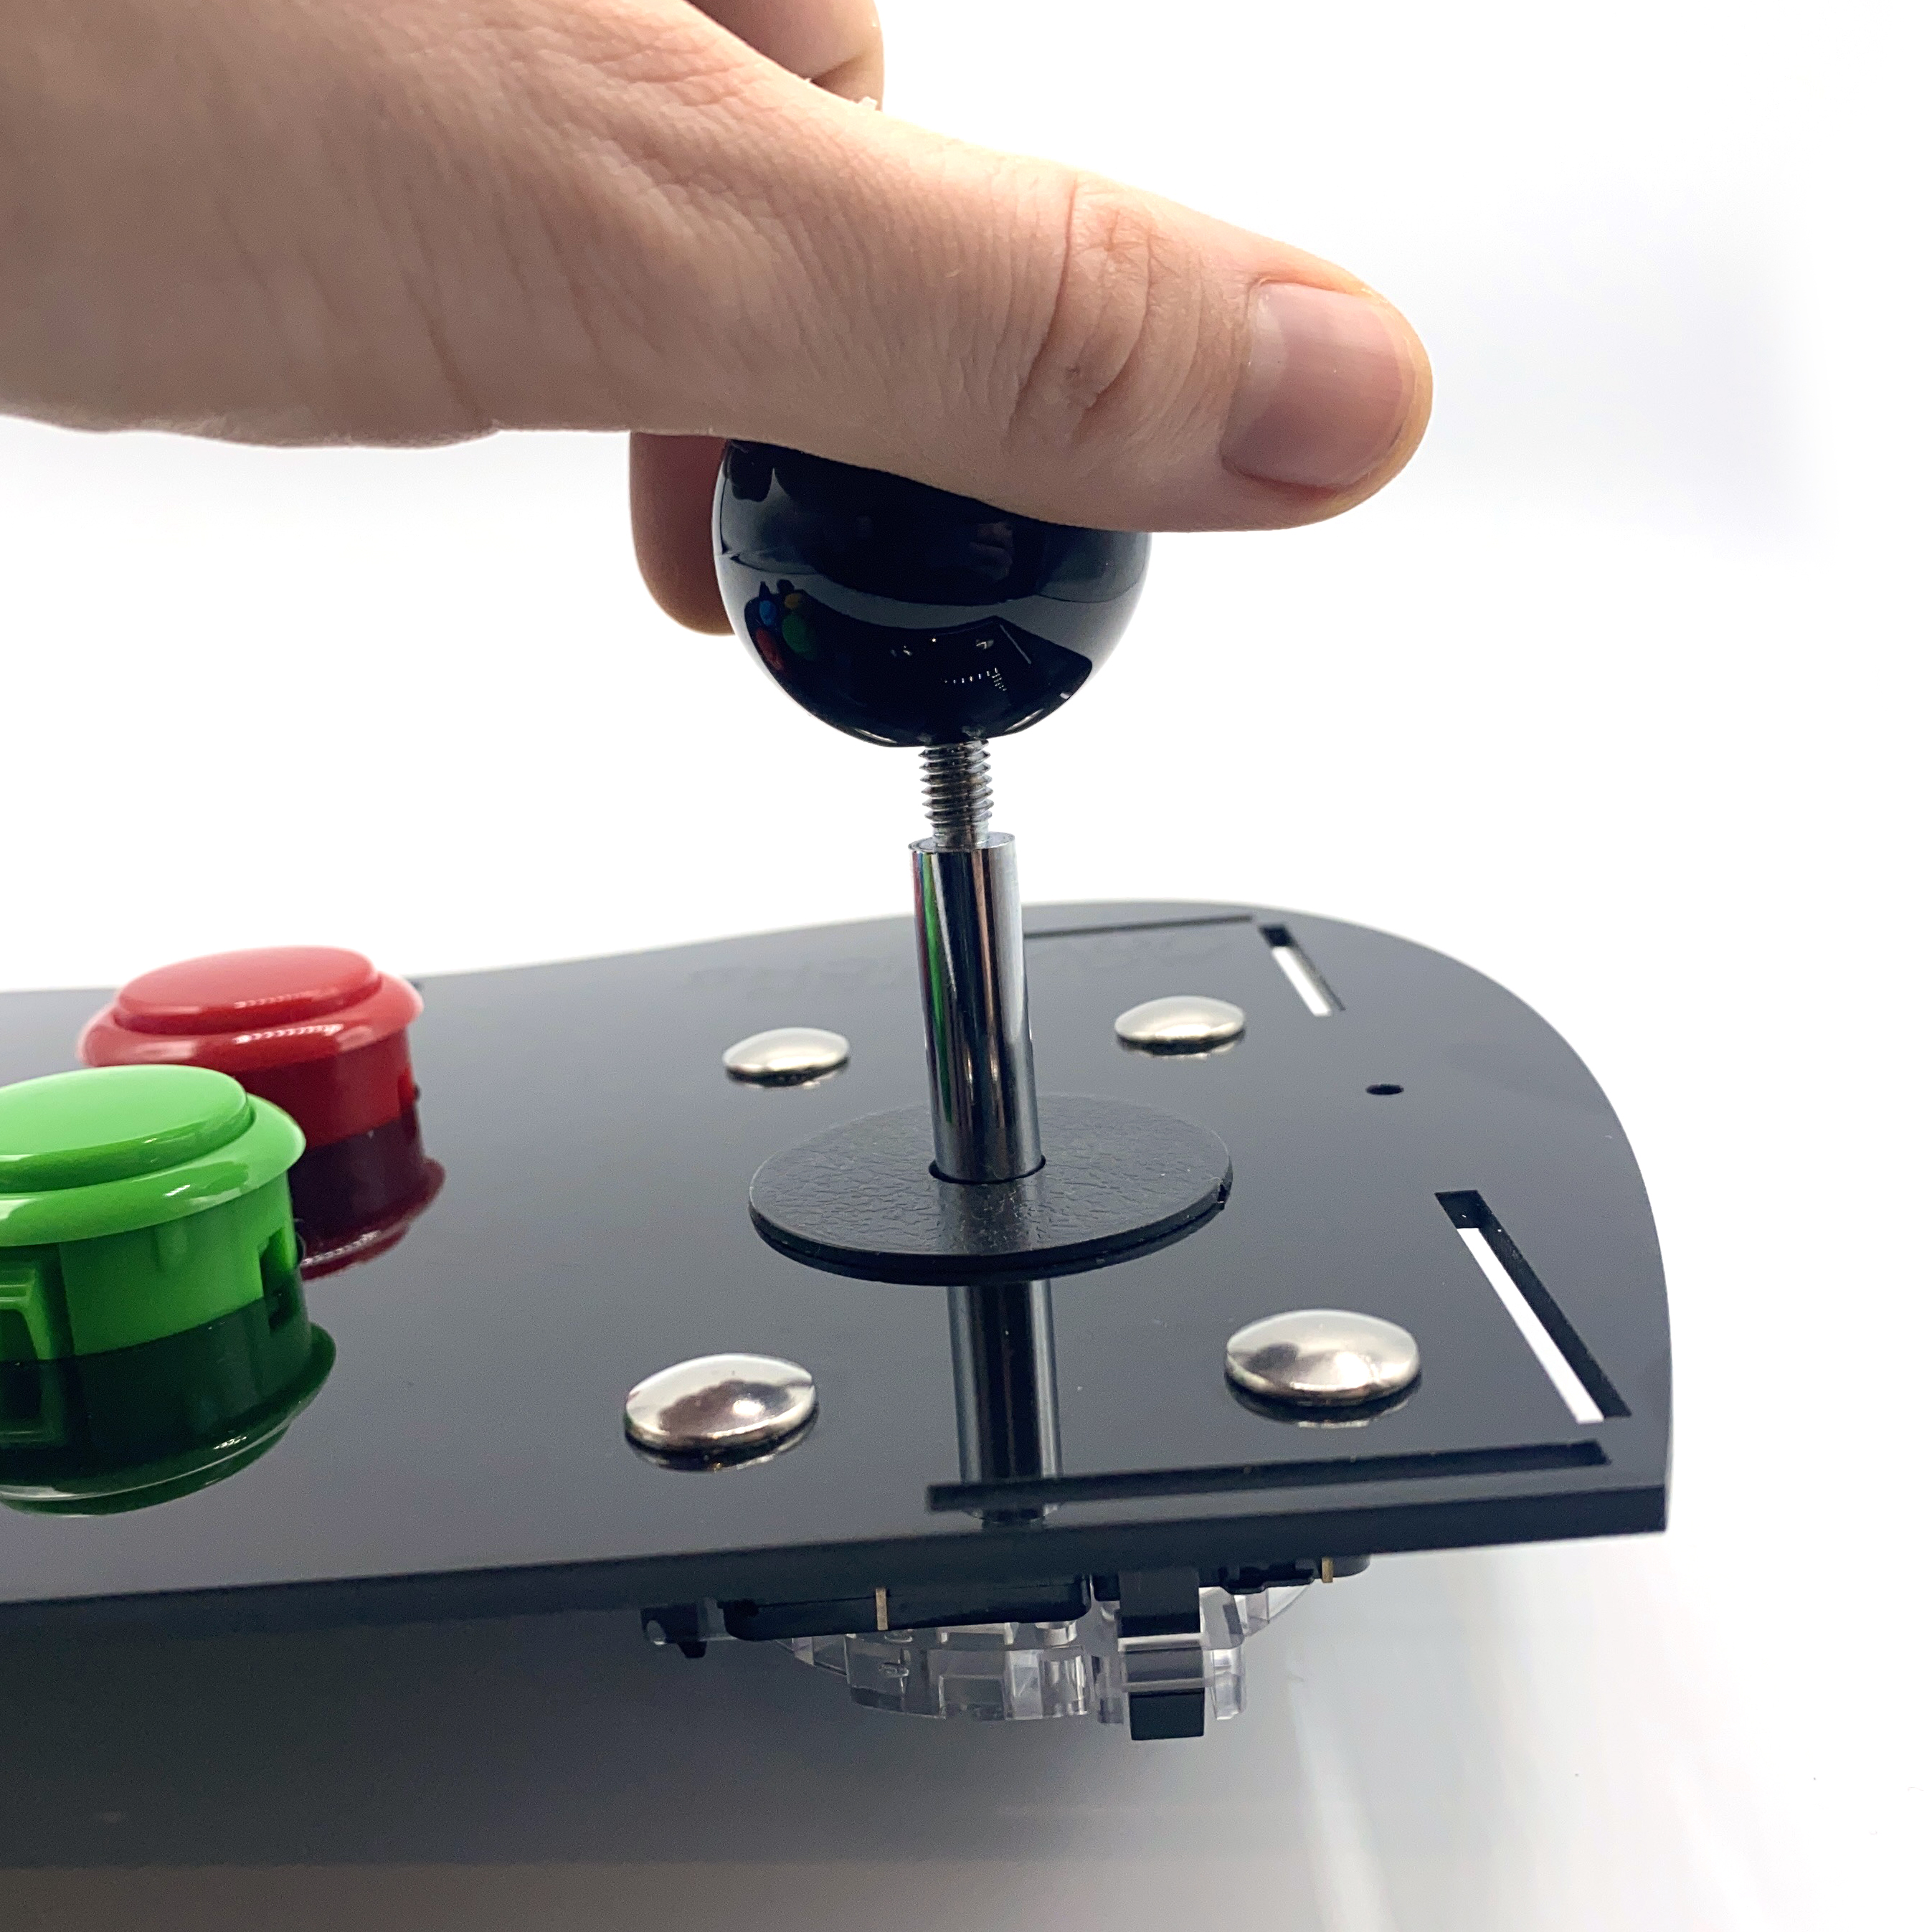 |
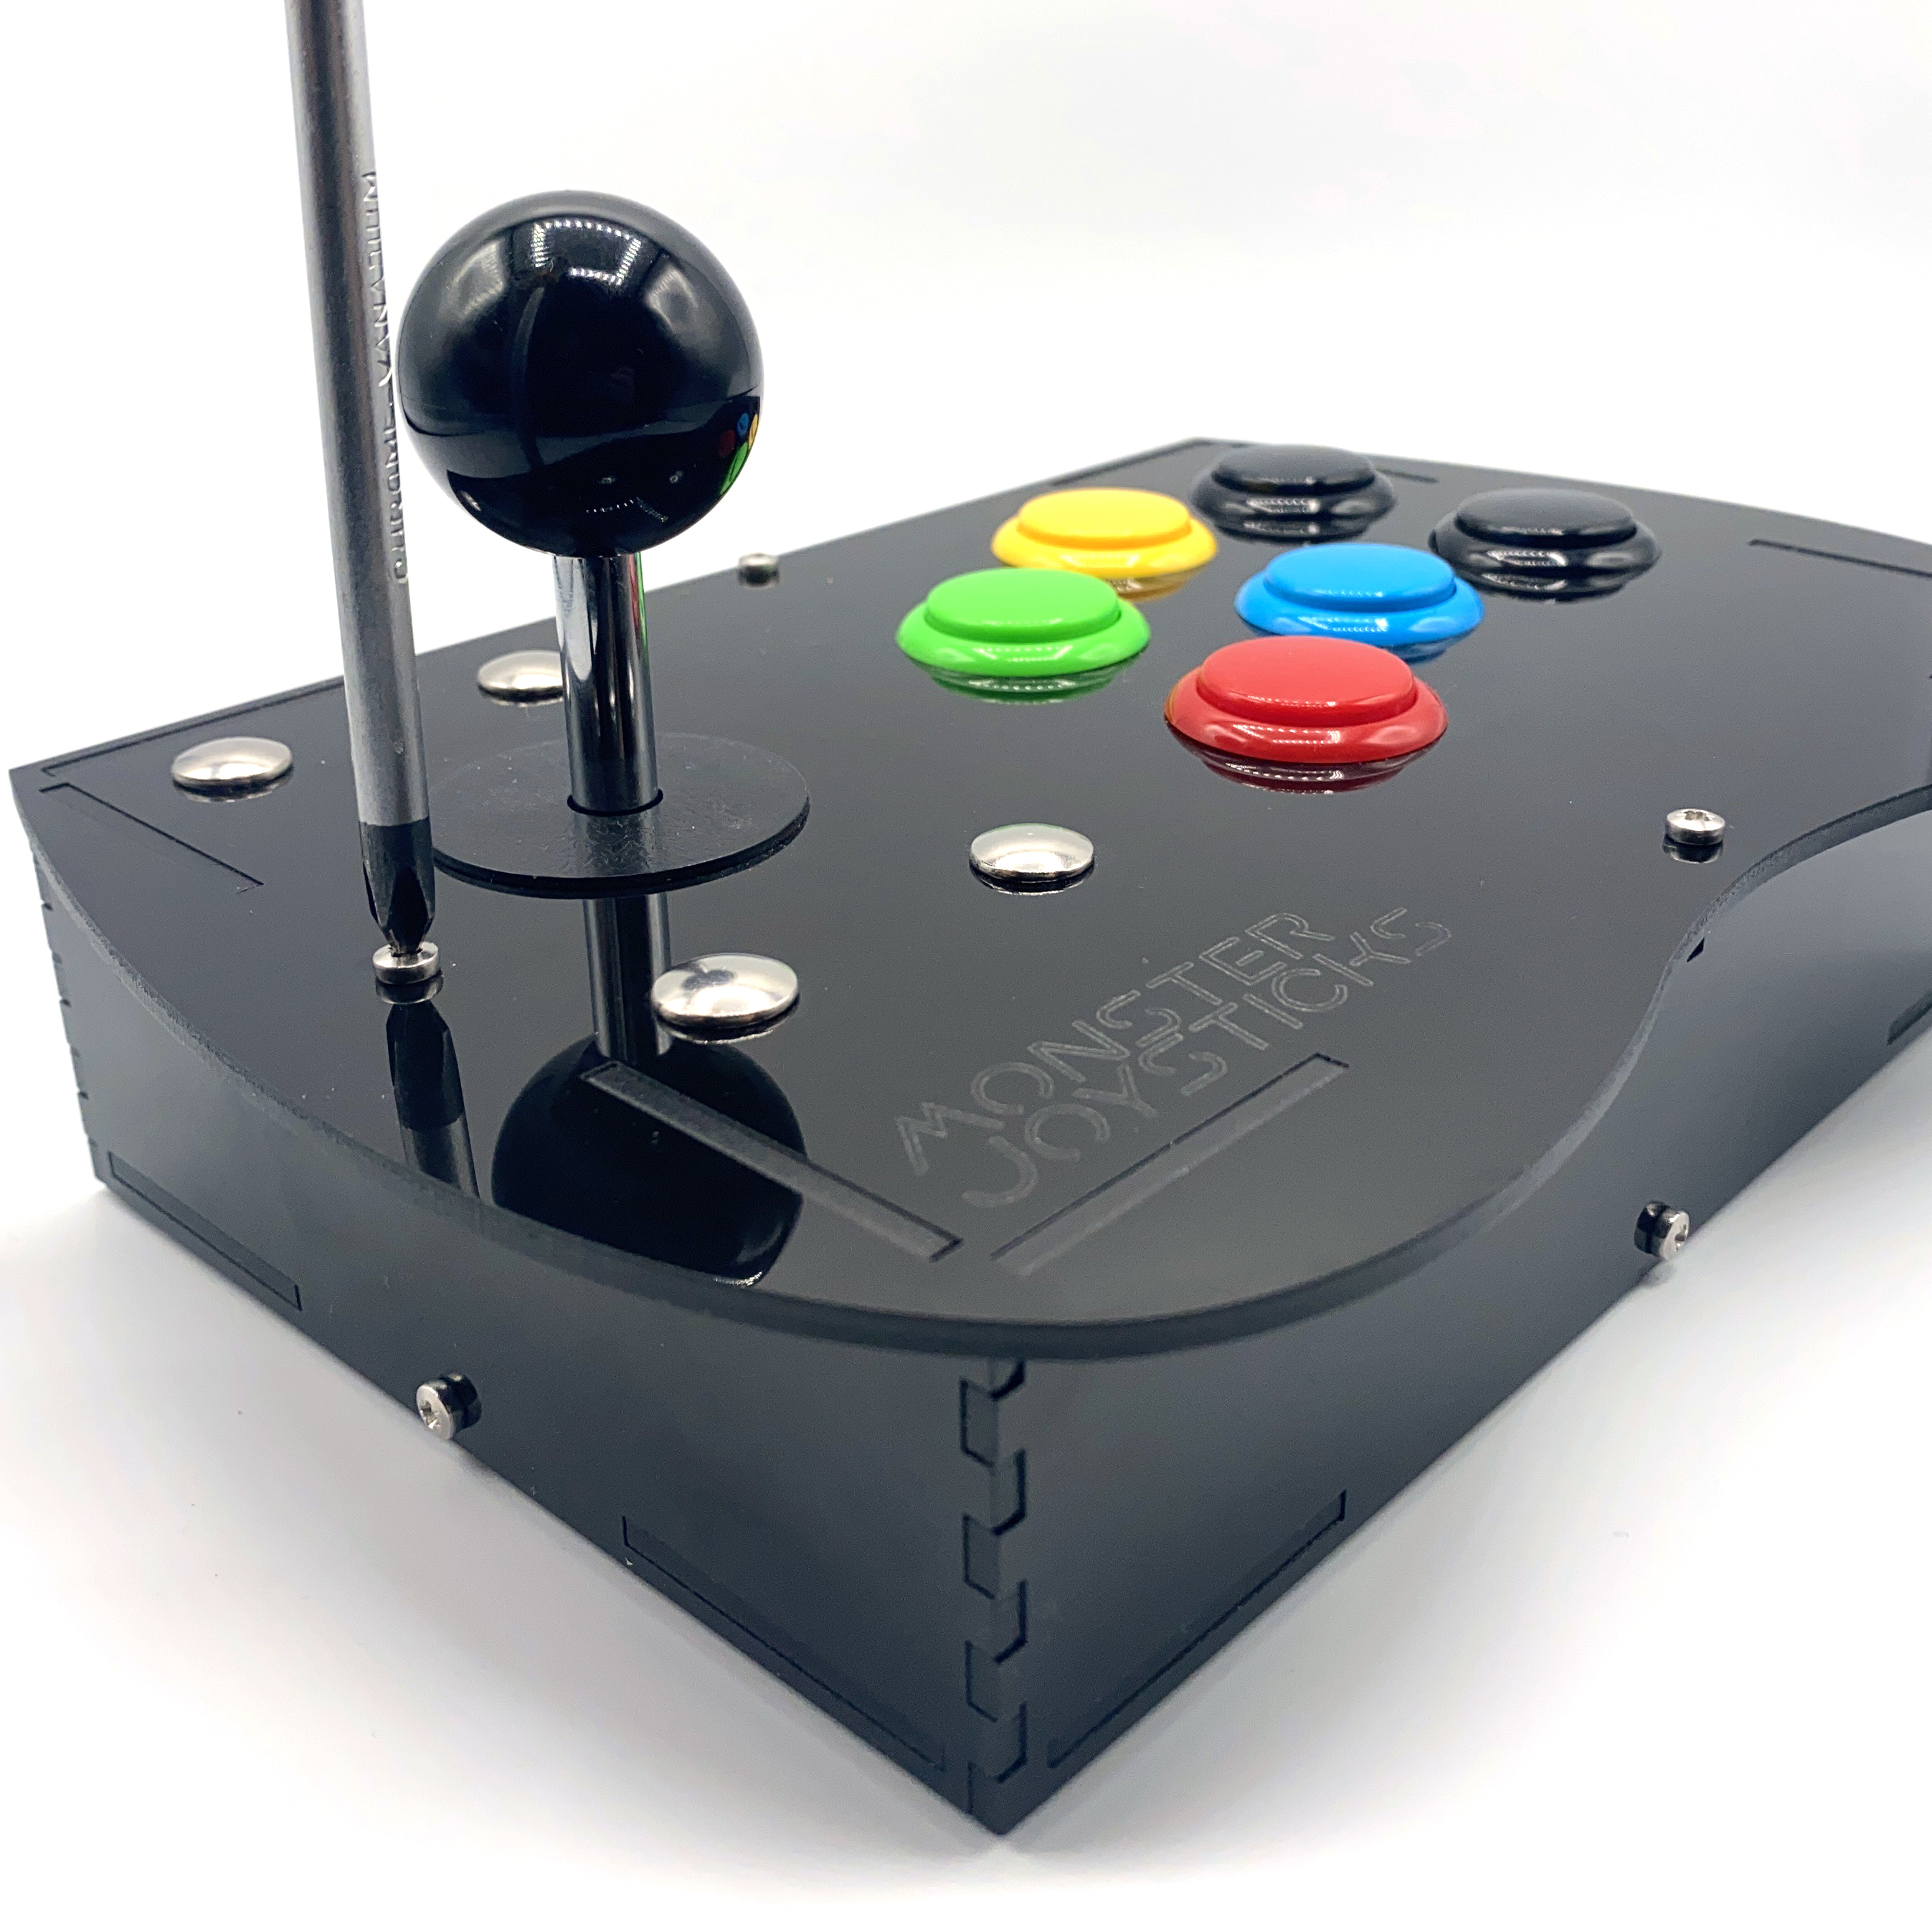
Next, put on the joystick dustcover and screw the ball onto the joystick. You can use a screwdriver in the slot at the bottom of the shaft for a more secure fit. Now insert your buttons. They can simply be pressed into the six 30mm holes. You should hear a click from them once they are fully in- serted. You should inser the buttons in the following order; Top Row - Green, Yellow, Black Second Row - Red, Blue, Black |
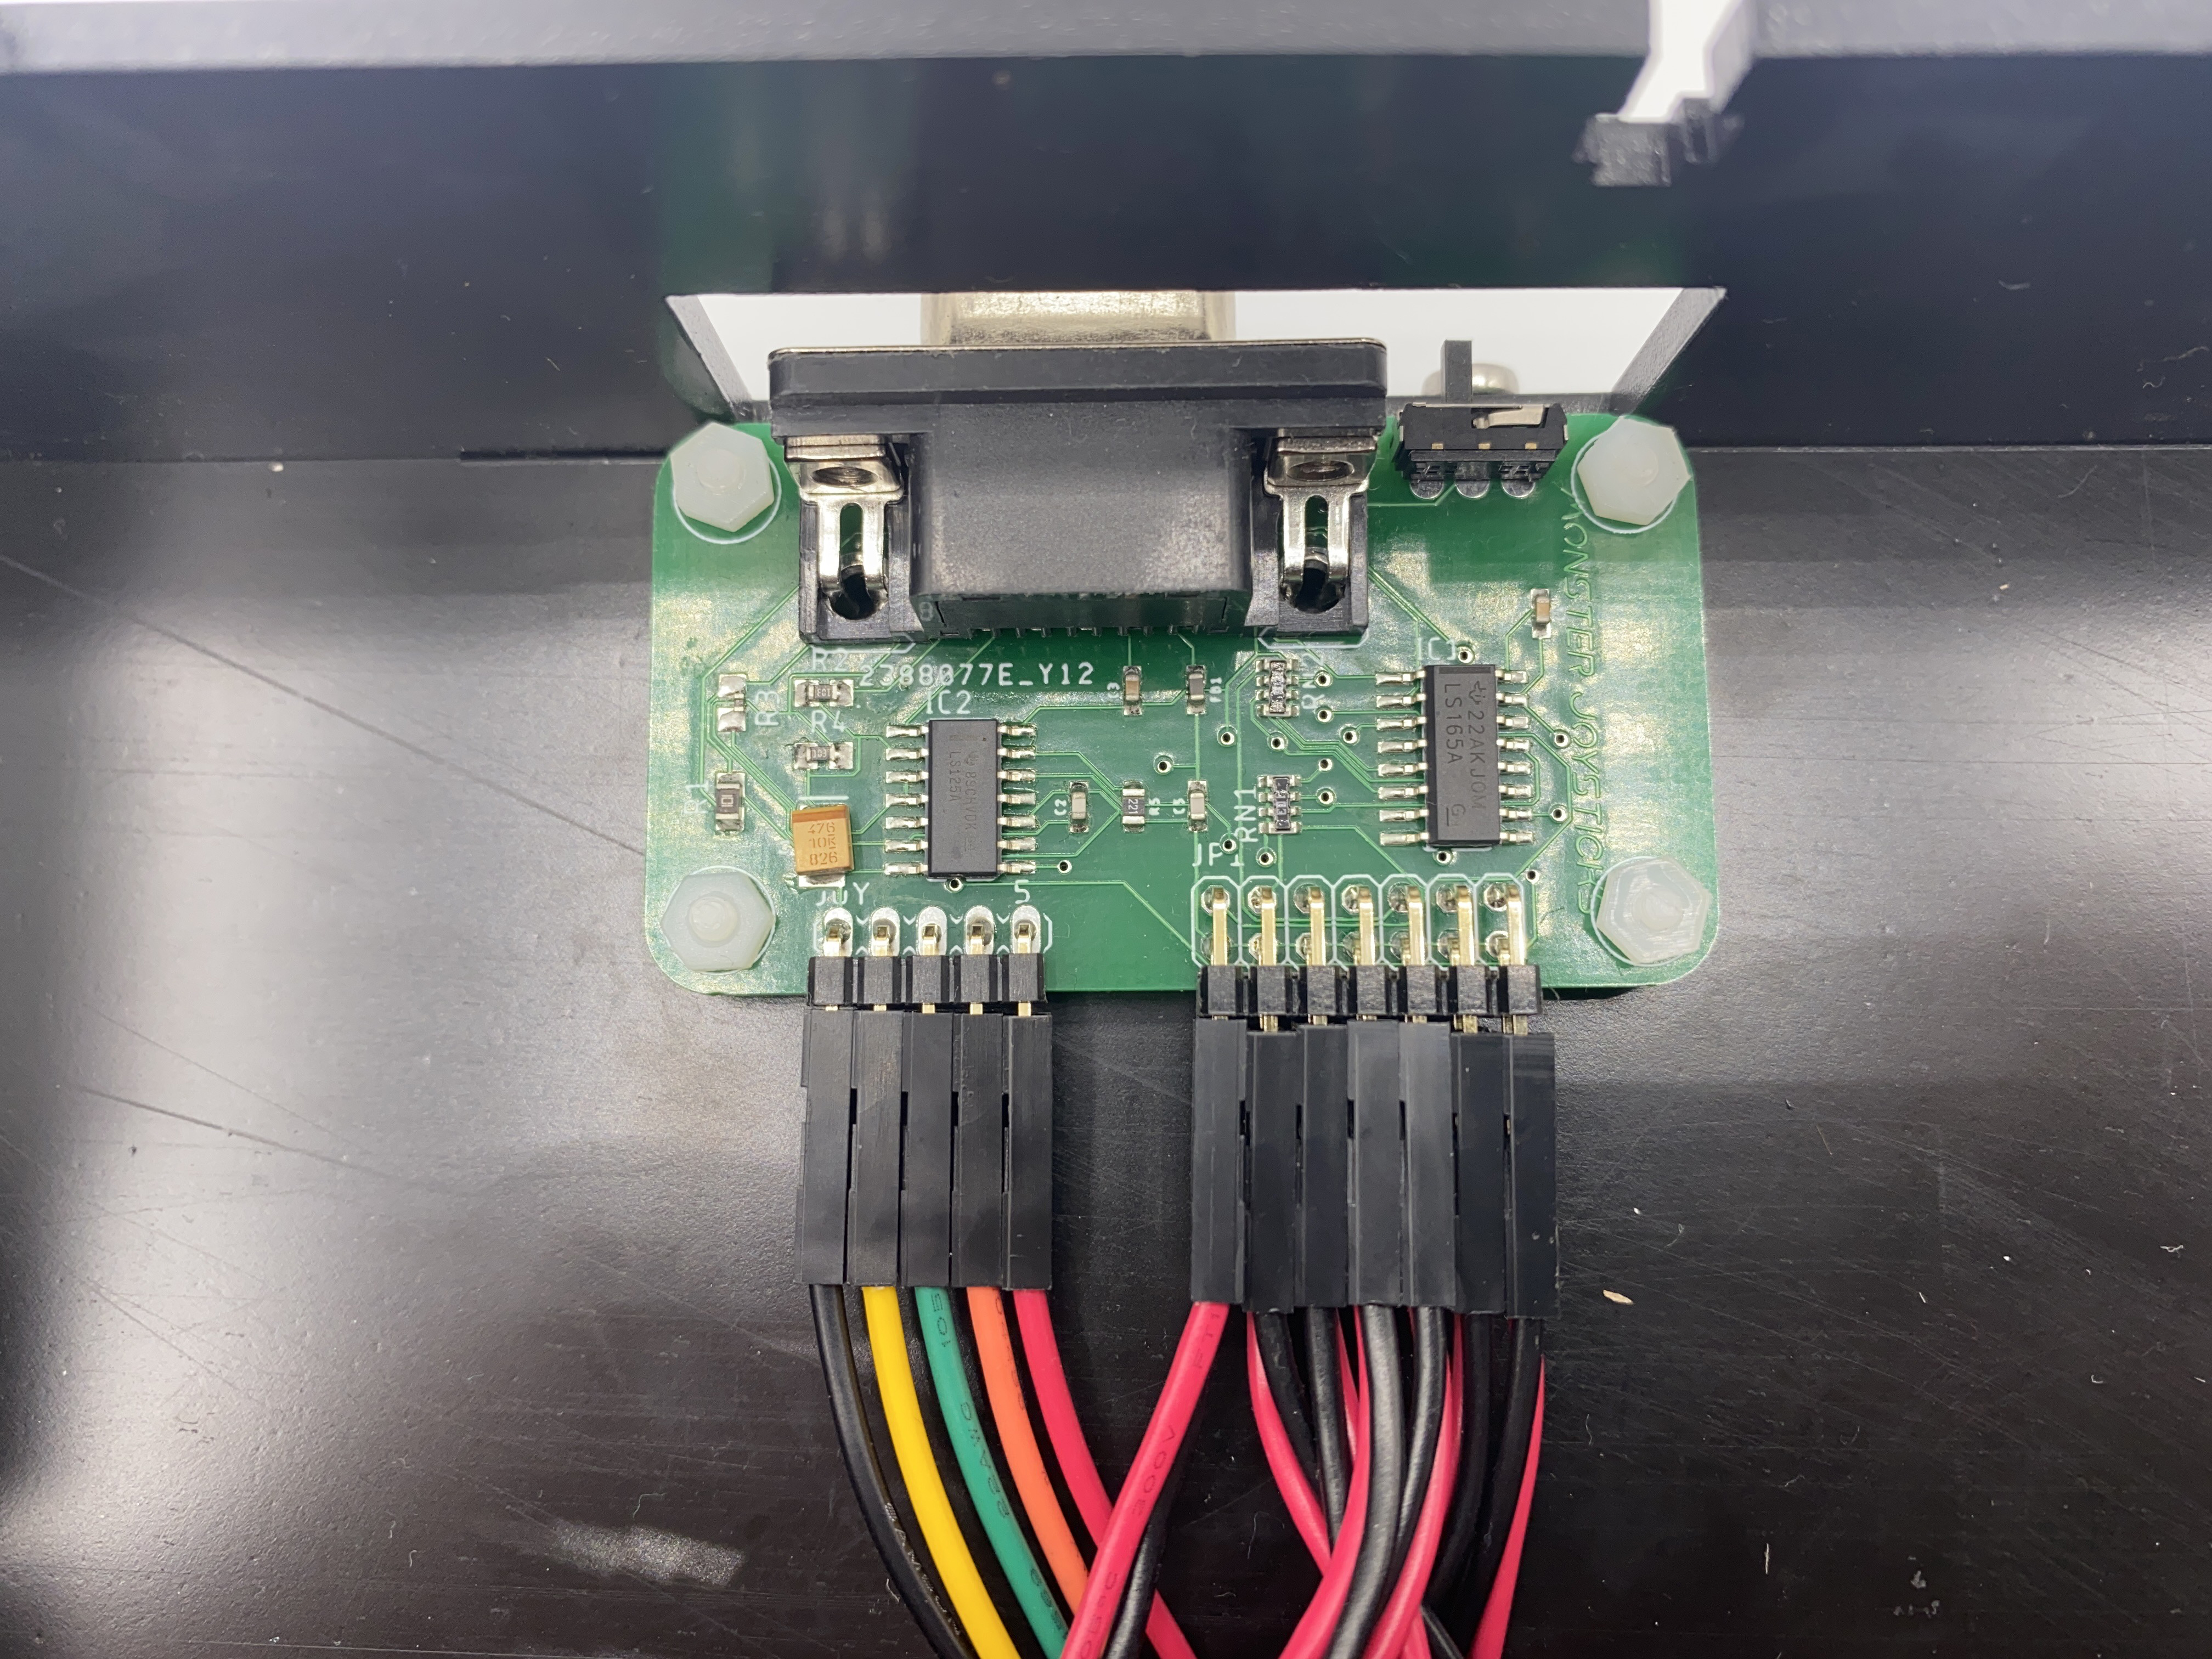
Step 4 - Connect the Interface Kit
| See the instructions below to attach the wires in for with the layout you have selected. Simply insert the wire header into the corresponding pins. | 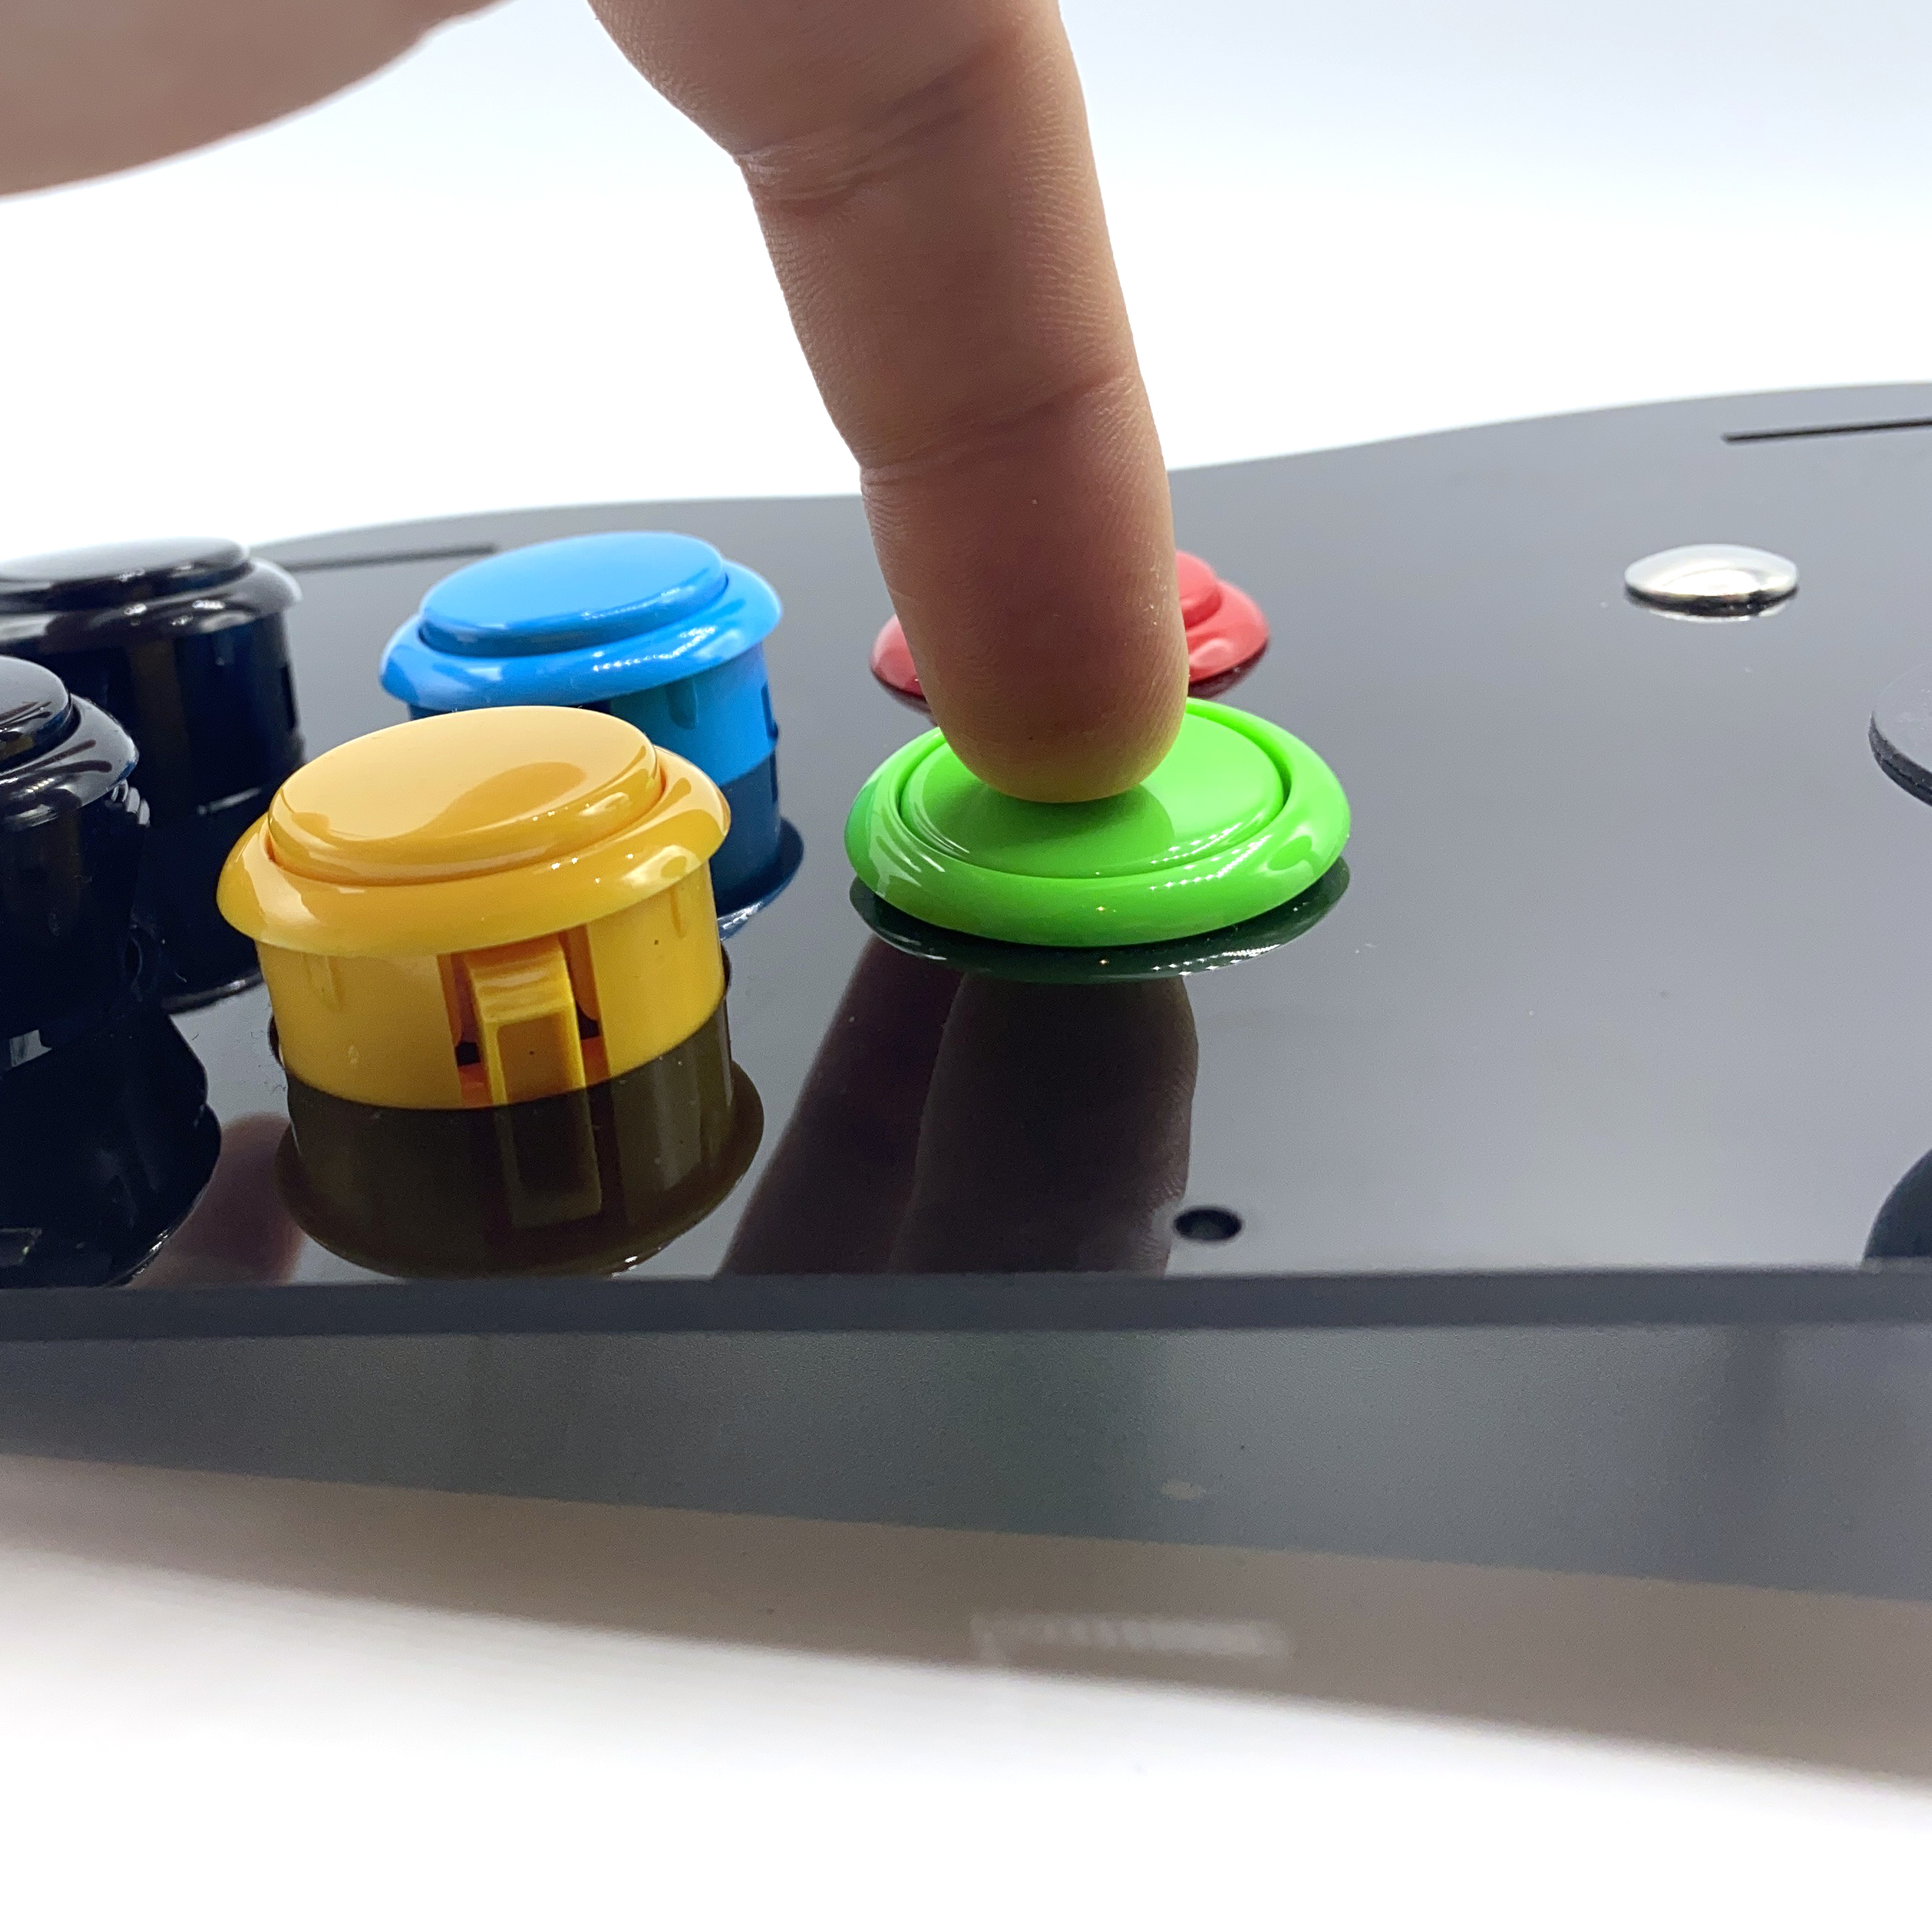 |
|
Pins from left to right:
The following buttons connect to each vertical pair of pins;
|
 |
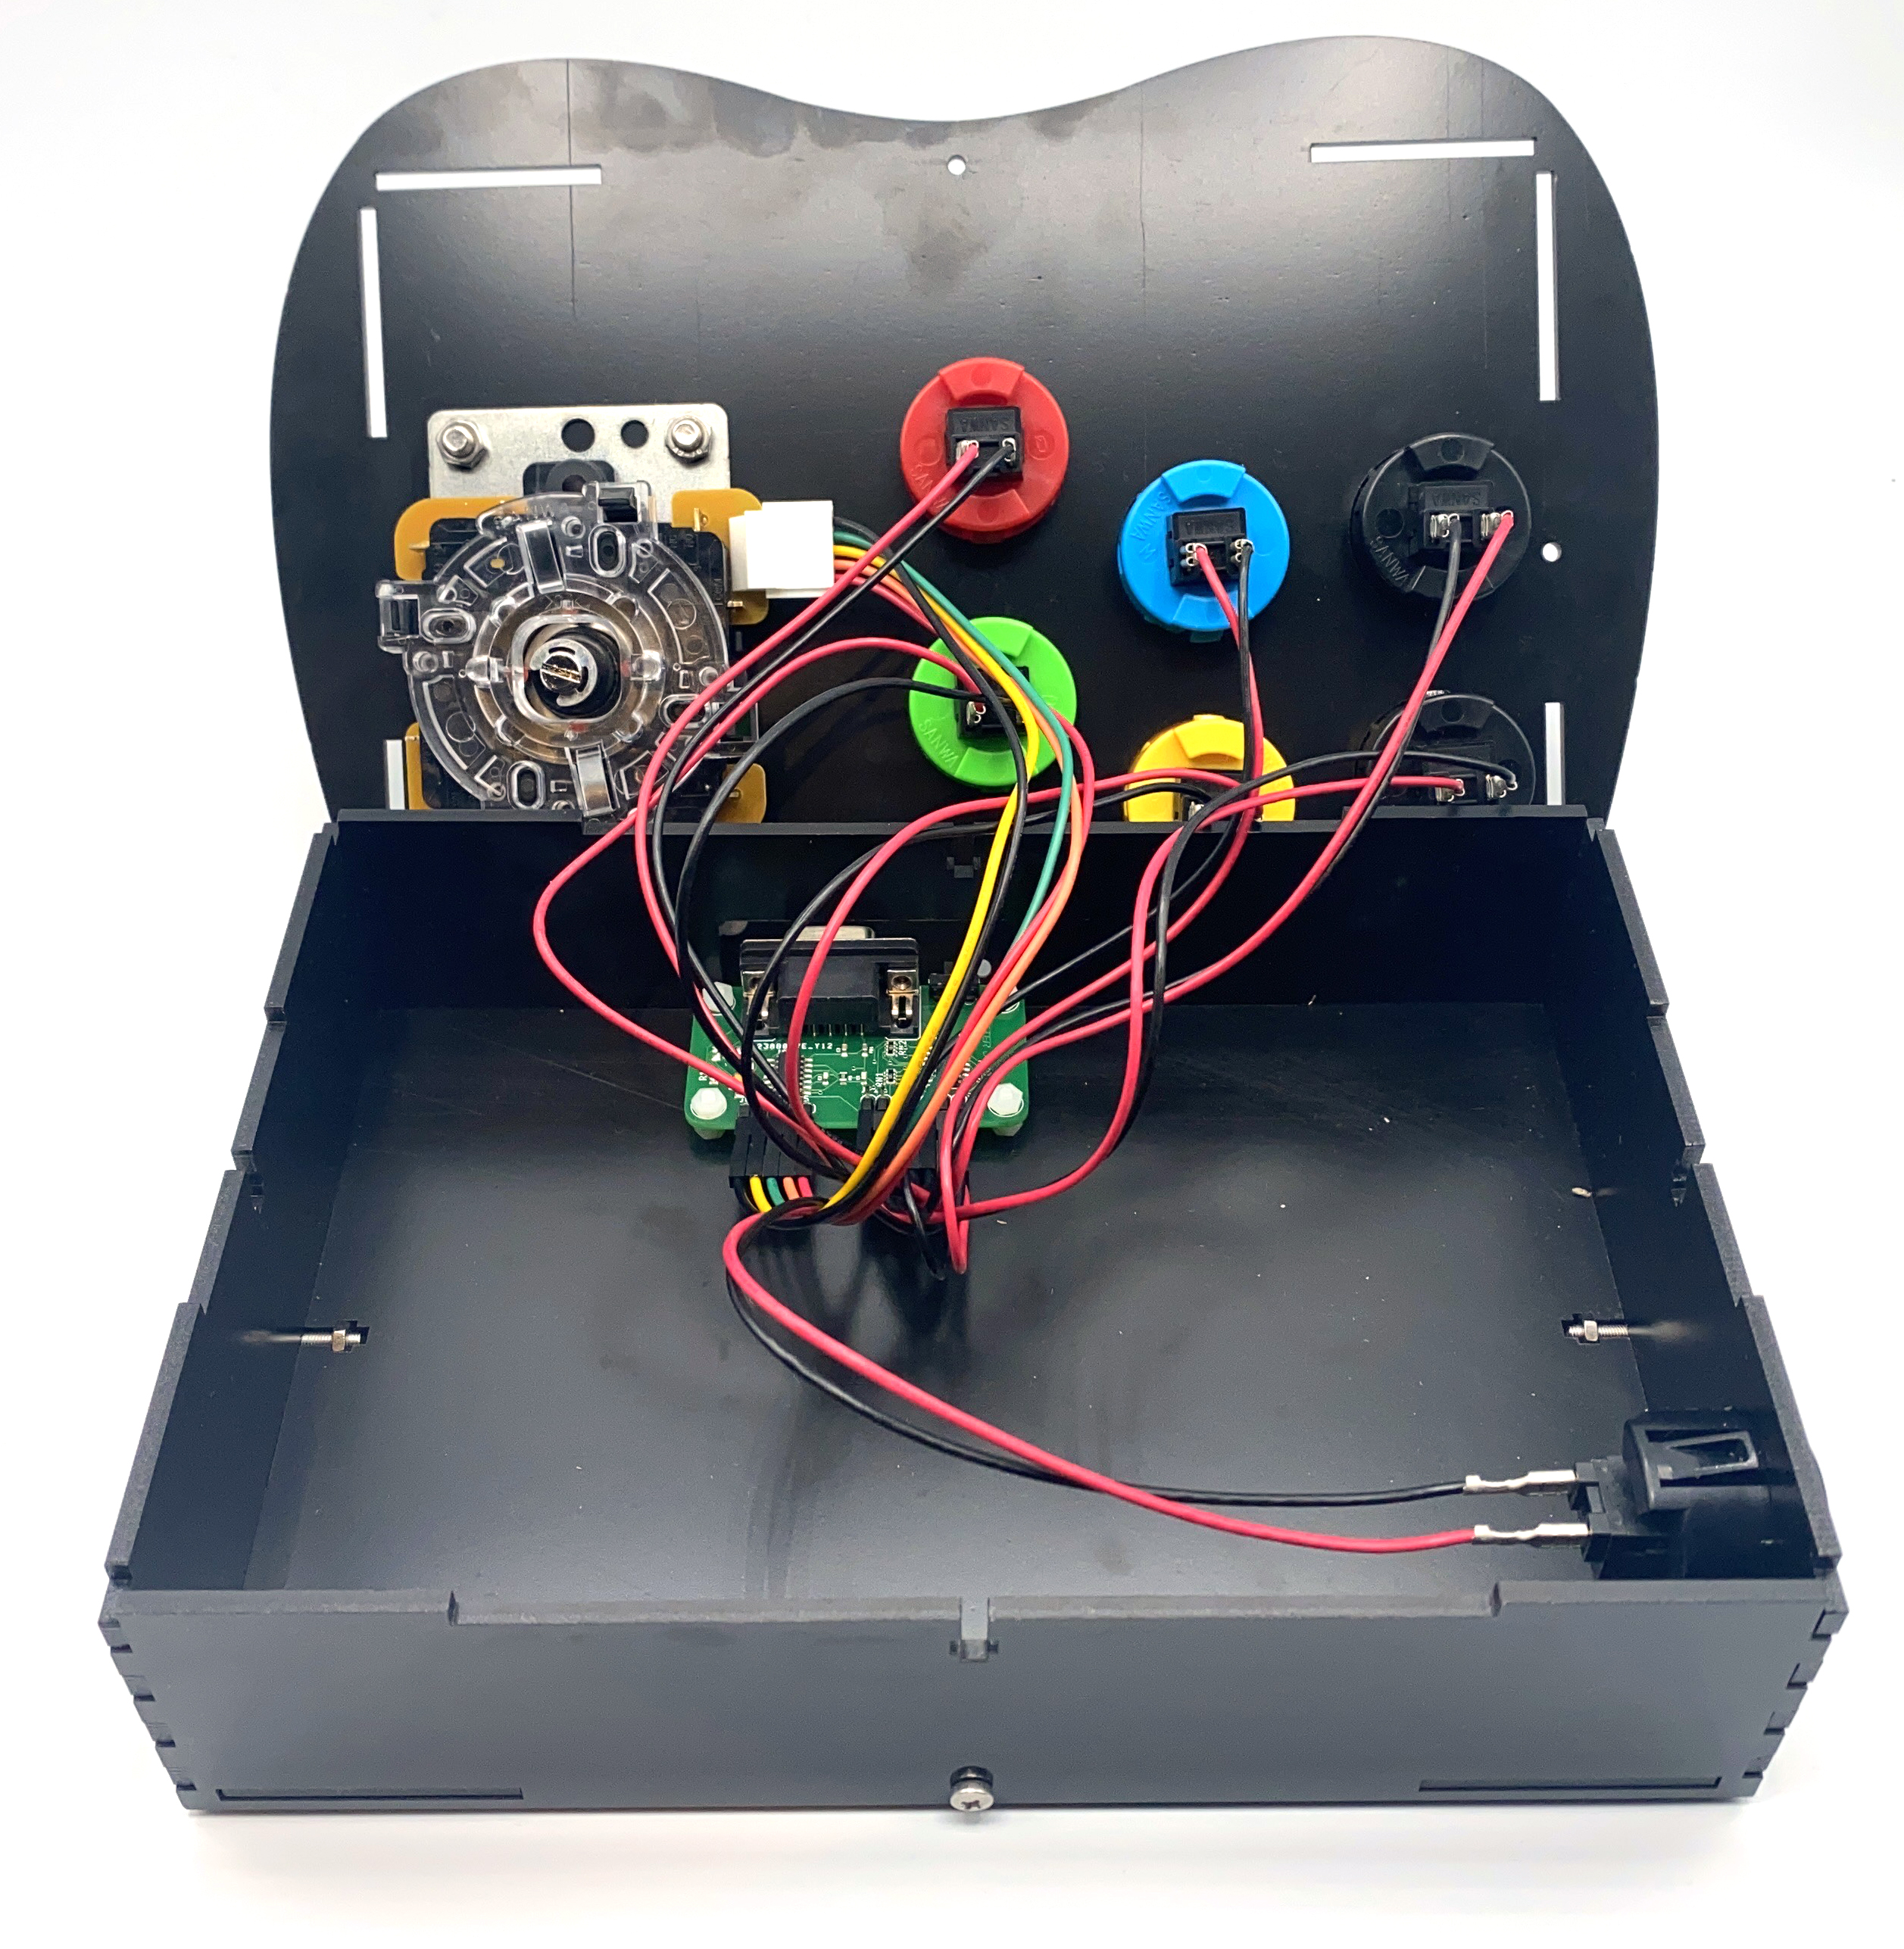 |
Attach the 5 pin connector to the joystick. This is keyed and can only be fitted one way round. Then attach the spade connectors to the male connectors on the buttons. These do not have polarity, so they can be connected either way round. |
Step 5 - Attach the Top Panel
The final step is to attach the top panel of the kit. Place the panel on top of the unit so that the 8 side panel slots align. While you are doing this, please make sure that all wires are neatly tucked into the casing. Gently push the top panels down over the aligned slots. You can now fasten it down using the same method and fittings used on the side panels.
Congratulations! You have now assembled your Deluxe CD32 Joystick. You can now proceed to connecting it to your CD32/Amiga system.